ArcScan toolbar
The ArcScan toolbar is how you access the ArcScan functionality.

Raster Painting toolbar
The Raster Painting toolbar supports a variety of tools designed for drawing and erasing raster cells.

Vectorization Settings dialog box
Vectorization settings are some of the most important components of the ArcScan extension. These settings allow you to dictate which raster data can be vectorized and how the geometry of output vector data should be constructed. No other settings in ArcScan have an impact on the outcome of the raster-to-vector conversion as do the vectorization settings.

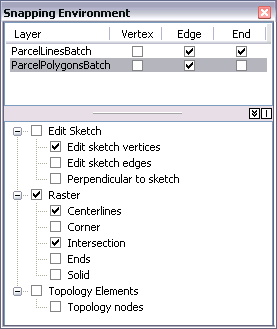
Snapping Environment window
ArcScan uses the classic editing snapping environment rather than the settings on the Snapping toolbar. You must enable classic snapping on the Editing Options dialog box. The raster snapping properties that support the manual vectorization process are located in the Snapping Environment window under the Raster tree. Click the Editor menu, point to Snapping, then click Snapping Window to display the Snapping Environment window.

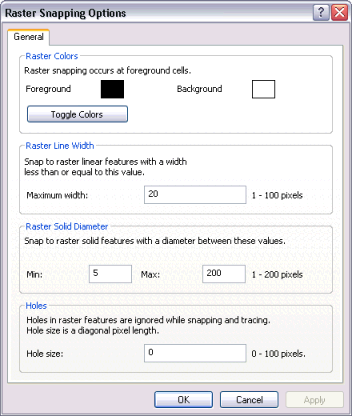
Raster Snapping Options dialog box
ArcScan supports a separate options dialog box for raster snapping. The Raster Snapping Options dialog box is accessible from the ArcScan toolbar, and it allows you to apply settings that are specific to raster tracing.

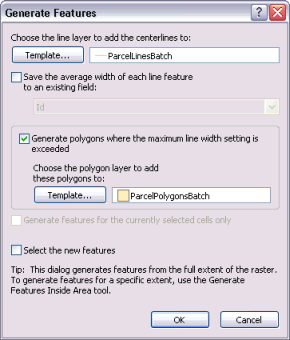
Generate Features dialog box (automatic vectorization)
Once you have determined the best possible settings for vectorization, it is time to create vector features. You can create features using the Generate Features command. This command opens the Generate Features dialog box, which allows you to choose the target line and polygon layers. There are also options to generate features for the currently selected cells only and choose whether to have the new features selected after they are generated.
