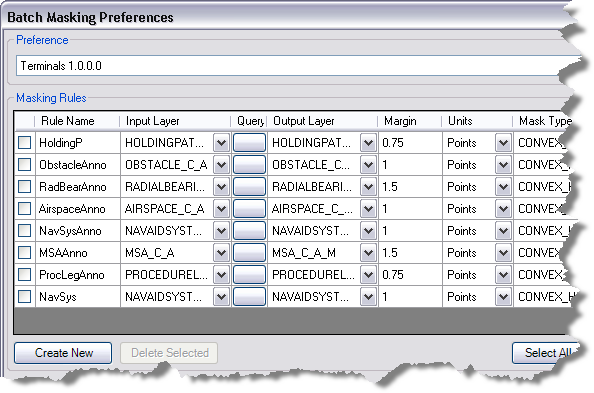
The Batch Masking Preferences dialog box allows you to create, edit, and delete masking preferences. Preferences are collections of rules. The rules contain the information necessary to create one particular type of mask for one specific feature layer. This information includes the rule name, the feature layer for which to create masks; a query that defines which features are to be included in the layer; the feature layer in which the generated masks will be stored; the margin, which determines the amount of buffer space around the masked feature; the units of measure for the margin; and the type of mask to create.
Once masking rules are no longer needed for a product class, you can delete them from the preferences associated with the product class.
- Start ArcMap.
- On the main menu, click Customize > Production > Production Properties.
The Production Properties dialog box appears.
- Ensure that the correct product library and production database are set.
- Click Aviation Properties in the list on the left side of the Production Properties dialog box.
- Click the cell next to Masking Rule Preferences and click the ellipsis button (...) that appears.
The Batch Masking Preferences dialog box appears.

- Click the Preference drop-down arrow and choose a set of preferences for masking.
Each set of rules typically corresponds with products stored in the product library. For example, if you have imported masking rules from an older product library, you will have those masking preferences available from the drop-down list.
- Check one or more boxes next to the rule you want to delete.
- Click Delete Selected.
A warning message appears so you can confirm that you want to delete the selected rule.
- Click Yes.
The selected masking rule is removed from the list of masking rules.
- Save the change to the masking preference by doing one of the following:
To save the change to the current masking preference
Click Save.
To save the change in a new masking preference
Click Save As. Type a name for the new masking preference in the Enter Name text box and click OK.
- Click OK.