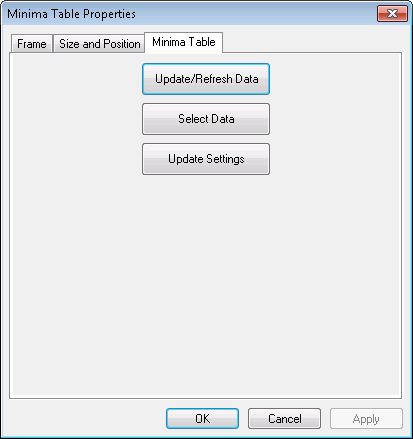
The minima table can be edited using the Frame, the Size and Position, and the Minima Table tabs on the Minima Table Properties dialog box. The table can be updated or refreshed from the database, and the settings and text properties can be defined and edited.
- Start ArcMap.
- On the main menu, click View > Layout View.
- Add a minima table to the map.
- Right-click the minima table and click Properties.
The Minima Table Properties dialog box appears.

- Click the Minima Table tab.
- To update data changed through the Minima Table settings dialog box or refresh data changed in the database, click Update/Refresh.
Once the data is updated, the button text indicates Data Updated and becomes inactive.
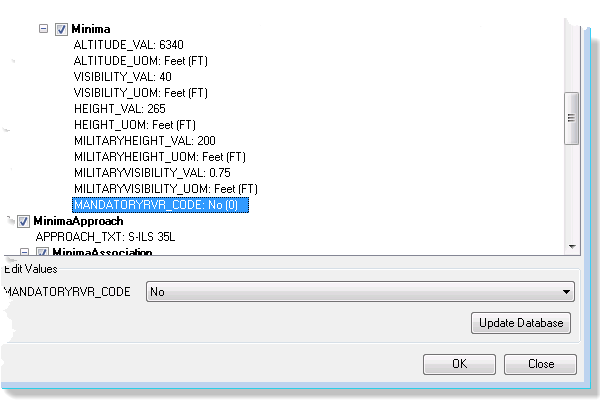
- To alter data in the database, click Select Data.
The Minima Table dialog box appears.
- Highlight any line of text in the right pane to show the Edit Values text box.
- Enter a value or change the current value and click Update Database.
This updates the data in the database directly based on the value entered.
- Click OK.
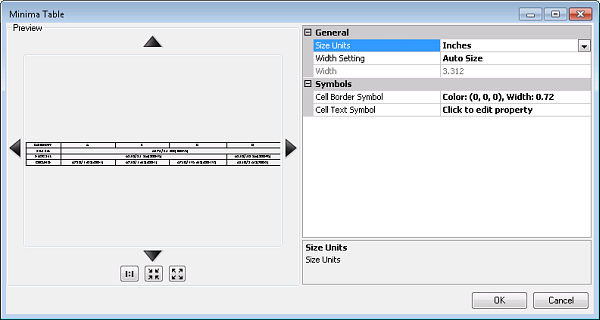
- To change the symbol settings for the table, click Update Settings.
The Minima Table dialog box appears.

For more information on modifying the appearance of the communication row, see Defining the minima table settings.
- To modify the general settings, do the following:
- Click the cell next to Size Units and click the drop-down arrow that appears to choose a unit.
This is the unit of measure for the table size.
- Click the cell next to Width Setting and click the drop-down arrow that appears to choose a setting.
This determines how the table width is sized.
- Click the cell next to Width and type a number for the width of the table.
This is the defined width of the table in units determined by the Size Units property.
- Click the cell next to Size Units and click the drop-down arrow that appears to choose a unit.
- To modify the cell border symbol, click the cell next to Cell Border Symbol, click the ellipsis button (...) that appears, and change the color, width, or units for the line.
The updated line symbol appears in the Minima Table dialog box.
- To modify the text symbols, do the following:
- Click the cell next to the symbol name and click the ellipsis button (...) that appears.
The Editor dialog box appears.
- Modify the symbol properties as needed.
Properties that can be modified include the font, size, style, offset, angle, alignment, position, and masking.
- Click OK.
- Click the cell next to the symbol name and click the ellipsis button (...) that appears.
- Click OK.

The Minima Table Properties dialog box appears.
The changes to the settings are only for the current minima table. If a new table is created, the existing settings defined in the Production Properties dialog box will be used.