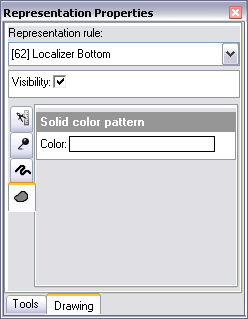
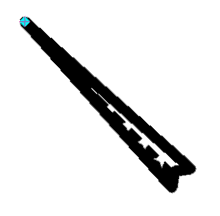
With an appropriate representation rule applied, the Localizer Feather geometric effect allows you to customize the localizer feather while retaining the size, shape, scale, fill pattern, and line weight.
There are four default localizer feather symbols included with ArcGIS for Aviation: Charting in the PLTS_ICAO style as representation rules: fill on the top half, fill on the bottom half, fill in the whole feather, and no fill.

To use the localizer feather symbols, you need to have data you want to symbolize as the localizer feather. You can apply the default symbology for the localizer feather provided in the PLTS_ICAO sample style.
Once you have customized the Localizer Feather geometric effect symbol, you can rotate the representation using the tools on the Representation toolbar.
- Start ArcMap.
- On the main menu, click Customize > Toolbars > Representation.
- On the main menu, click Customize > Toolbars > Aviation Editing.
- Click the Production Start Editing button
 on the Aviation Editing toolbar.
- Click the Select tool
 on the Representation toolbar.
 - Click to select the localizer feather you want to modify.

- Click the Representation Properties button
 on the Representation toolbar.
The Representation Properties dialog box appears.

-
Click the Rotate button
 on the Representation toolbar.
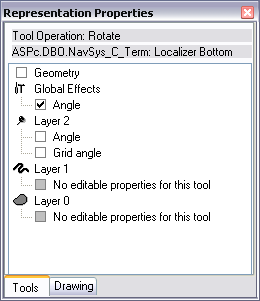
- Click the Tools tab at the bottom of the Representation Properties dialog box.
- Uncheck the Angle and Grid angle check boxes.

- Click and drag the mouse pointer in the ArcMap display to rotate the localizer feather.
The feather is rotated.
