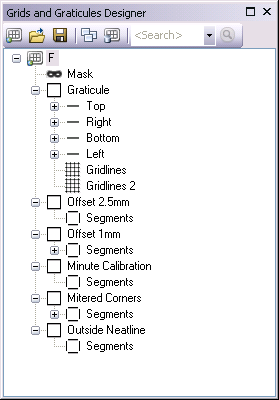
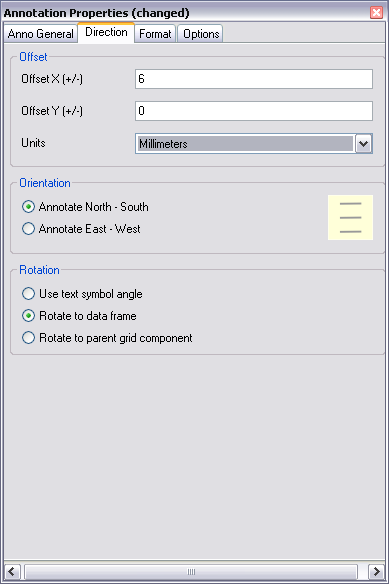
All INT2 grid XML files are designed for panels that have north at the top of the chart. If the panel you are producing is not "north-up," you may want to adjust the annotation so that it is parallel to the page and not the gridlines.
- Start ArcMap if necessary.
- Open the product map document.
- Select the polygon that represents the chart's AOI and make sure it stays selected throughout the following steps.
- On the Nautical Cartography toolbar, click Grids > Grids and Graticules Designer.
- Click the Open button
 to load a grid XML.
The Open dialog box appears.
- Navigate to the following location:
- For 32-bit Windows operating systems—<Installation location>\Program Files\ArcGIS\MaritimeCharting\Desktop10.3.1\Charting\Cartography\GridDefinitions
- For 64-bit Windows operating systems—<Installation location>\Program Files(x86)\ArcGIS\MaritimeCharting\Desktop10.3.1\Charting\Cartography\GridDefinitions
- Choose the grid XML that best suits your chart based on purpose and scale.
For example, a chart that has a scale of 1:50,000 would use INT2_F, since the F scale range is 1:30,000 to 1:100,000.
- Click Open.

The grid XML is added to the Grids and Graticules Designer window
- Click the Save button
 .
.
The Save As dialog box appears.
- Browse to a file location and type a name for the grid.
- Click Save.
- Click the Set Feature Dataset button
 on the Grids and Graticules Designer window.
The Dataset Location for Grid dialog box appears.
- Navigate to the Grids feature dataset.
- In the tree view, double-click the annotation component you want to change.
- Click the Direction tab.
- Choose the Rotate to Data Frame option in the Rotation area.

- Repeat steps 14–16 as necessary for all the annotation you want to change.
- When you have finished updating the annotation components, click the top node of the tree view (the grid name).
By selecting the top node, this will batch create the entire grid. You can keep individual annotation nodes selected and generate them one at a time by stepping through them and clicking the Create button
 in turn.
 - Click the Create button
 .
.
The grid annotation is rotated so that it is parallel to the page.