Extraction queries allow you to determine which features are going to be included on your products. The queries that are created at the product class level of your product library control what is extracted for the products, instances, and areas of interest within the product class.
If you are using the Nautical Information System (NIS) and the preconfigured product library workspace XML, then the New Nautical Product wizard will construct an extraction query for you based on your inputs. However, if you need to customize the extraction queries, then there are guidelines you need to follow. Once you build a product library, you can set extraction queries for the products you manage.
When constructing your custom query, you will need to include variables that the New Nautical Product wizard will replace with the inputs for the compilation scale and, if necessary, the M_CSCL scale values. The following is a list of the variables and an example of what they look like in a query:
- largest_scale—For Chart products, this would be the largest product compilation scale value. For ENC products this would be the largest M_CSCL scale value (smallest numeric value).
- product_scale—For Charts, this is the compilation scale value defined in within the Instance Metadata section of the New Nautical Product wizard. For ENCs, this is the compilation scale value.
- next_product_scaleband—This is the next-highest scale band value from the product_scale value as determined within the ScaleBands.xml file.
- additional_mcscl_band_queries—If no M_CSCL scale values are defined, then this variable is replaced with an empty string. If multiple M_CSCL scale values are defined, then those values are added to a SQL query string that adheres to the extraction query.
Example of what the query should look like for an ENC product with the variables:
((IS_CONFLATE = 1 AND PLTS_COMP_SCALE >= largest_scale) OR ((IS_CONFLATE = 0 OR IS_CONFLATE IS NULL) AND (PLTS_COMP_SCALE >= product_scale AND PLTS_COMP_SCALE < next_product_scaleband)) additional_mcscl_band_queries) AND NIS_PRODUCTS IN (ALL, ENC))
- Start ArcMap.
- If necessary, open the Product Library window by clicking Customize > Production > Product Library on the main menu.
A tree view of the product library appears.

- Expand Product Library and Products.
- Navigate to the product class for which you want to define extraction queries.
For the Maritime Charting, specify the CHART product class.
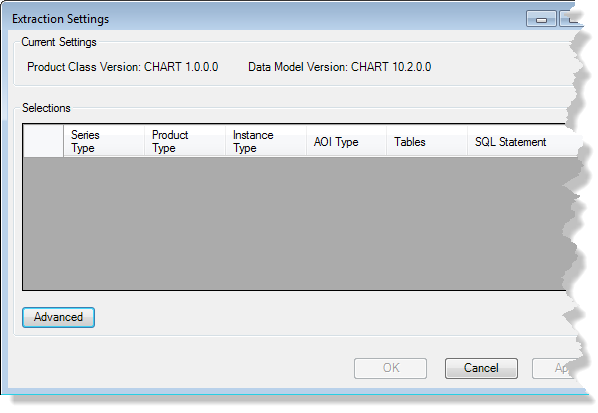
- Right-click the product class and click Extraction Settings.
The Extraction Settings dialog box appears.

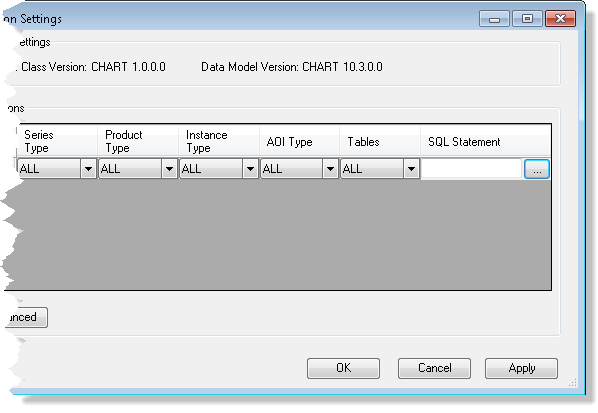
- Right-click in the Selections table and click Add Record.
- If necessary, click the Series Type cell, click the drop-down arrow that appears, then choose the series type from which you want to extract features.
For Maritime Charting, use the default value ALL.
A new row appears in the table.
- If necessary, click the Product Type cell, click the drop-down arrow that appears, then choose the series type from which you want to extract features.
For Maritime Charting, use the default value ALL.
- If necessary, click the Instance Type cell, click the drop-down arrow that appears, then choose the instance type from which you want to extract features.
For Maritime Charting, use the default value ALL.
- If necessary, click the AOI Type cell, click the drop-down arrow that appears, then choose the area of interest type from which you want to extract features.
For Maritime Charting, use the default value ALL.
- Click the Tables cell, click the drop-down arrow that appears, then choose a table or feature class from which you want to extract features or records.
For Maritime Charting, use the default value ALL.
- Click the SQL Statement browse button.

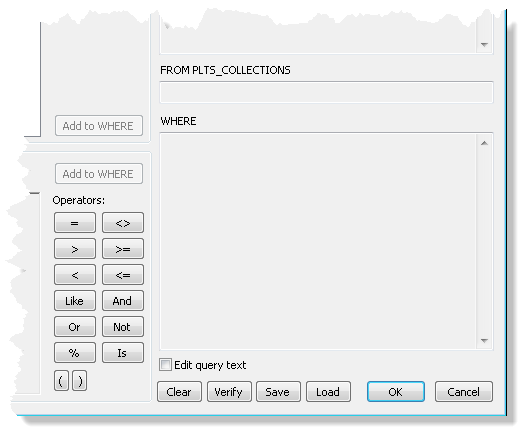
The Query Builder dialog box appears.
- Type or paste the WHERE clause you want to use with the table in the cell.
If you are using Maritime Charting, the Please select a table from which to get field names dialog box appears for the first record with the tables value of ALL, and you can skip this step.
- Choose the PLTS_COLLECTIONS table from the default list and click Select.
The Query Builder dialog box appears.

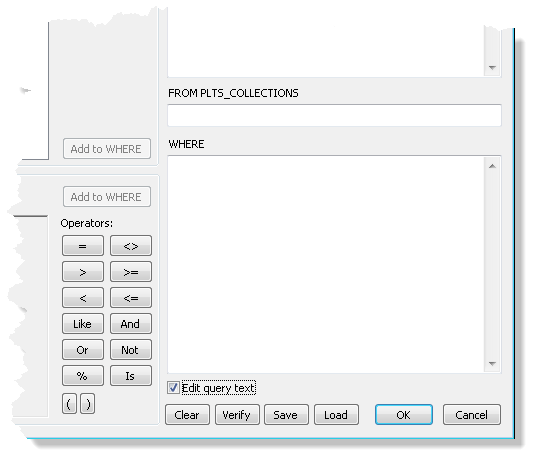
- Check the Edit query text check box to insert your query.

- Click Verify to verify your query.
- Click OK to close the Query Builder dialog box.
- Repeat the steps starting at step 6 for each extraction query you want to create.
- Click OK when you are finished.