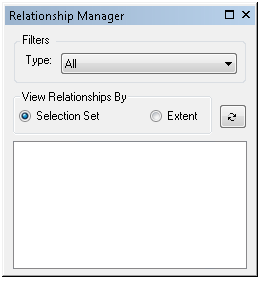
The Relationship Manager tool lists any existing relationships in each loaded workspace based on the filters and viewing options.
Opening the Relationship Manager window
You don't need to start an edit session to view relationships, but you do need to create or delete relationships.
- Start ArcMap.
- On the main menu, click Customize > Toolbars > Nautical.
- Click the Relationship Manager button
 on the Nautical toolbar.
The Relationship Manager window appears. It is blank by default.

Displaying relationships by type
The Filters section contains a Type drop-down menu that displays the relationships in the Relationship Manager window by type of relationship. Changing the type automatically refreshes the list of relationships, so you don't need to click the Refresh button.
-
Click the Type drop-down arrow under Filters and choose an option.
- All—Show both collection and structure-equipment relationships.
- Collections—Show only collection relationships.
- Structure/Equipment—Show only structure-equipment relationships.
Displaying relationships by selection or extent
You can also see all the existing relationships in your database by selection set or extent. You will need to refresh every time the selection or extent changes.
- Choose an option under the View Relationships By area.
To view relationships by a selection set
Click the Selection Set button.
To view relationships by extent
Click the Extent button.
- Click the Refresh button
 .
.
Refreshing the relationships in the window
Clicking the Refresh button refreshes the list of relationships visible within the Relationship Manager window. You will only need to refresh if you change your selected features, extent, or view method in the View Relationships By area. You can click the Refresh button if the window is blank and you want to accept the default view options.
- Click the Refresh button
 .
.
Zooming to the extent
The Zoom To command on the context menu of the relationships zooms to the extent of the current item. For example, if you click this option at the Collection level, it will zoom to the extent of the entire collection's features.
Adding to the selection set
The Add to Selected command on the context menu of the relationship adds the current item to your selection set. For example, without having to refresh the tree view, you can select other features to participate in an existing relationship and add them to the selection set, and then append them to a collection or structure feature.
- Right-click a relationship or child feature in the Relationship Manager window and click Add to Selected.
The relationship or child feature is added to the selected set.