Available with 3D Analyst license.
Contours are lines that connect points of equal value (such as elevation, temperature, precipitation, pollution, or atmospheric pressure). The distribution of the lines shows how values change across a surface. Where there is little change in a value, the lines are spaced farther apart. Where the values rise or fall rapidly, the lines are closer together.
Why map contours?
By following the line of a particular contour, you can identify which locations have the same value. By looking at the spacing of adjacent contours, you can gain a general impression of the gradation of values.
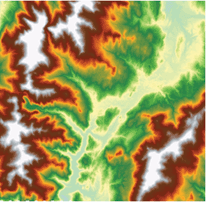
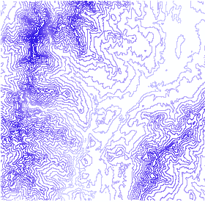
The example below shows an input elevation grid and the output contour map. The areas where the contours are closer together indicate the steeper locations. They correspond with the areas of higher elevation (in white on the input elevation grid).


The attribute table of the contour features contains an elevation attribute for each contour line.
Using contours with the ArcGIS 3D Analyst extension
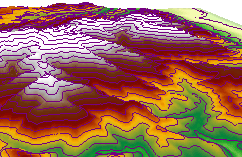
Contours are a familiar surface representation for many people, and they have many uses in a scene. You can display contour features in a 3D scene by setting the base height of the contours from their value in the feature table. Contours in a scene can enhance a terrain visualization. The example below shows contours superimposed on a terrain surface model.

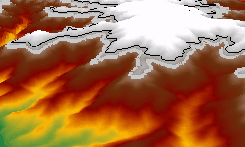
You can also create individual 3D graphic contour lines if you don't want contours for the whole surface. The Create Contours tool  on the 3D Analyst toolbar in ArcMap and ArcScene allows you to create 3D graphic contour lines by clicking a surface in a scene or map.
You can use individual graphic contours to quickly find points of equal value in a scene. For example, you can use them to mark thresholds in the concentration of a chemical or fill lines in a reservoir.

You can copy 3D contour graphics between ArcMap and ArcScene (as shown below) to establish a visual correspondence between a terrain representation in a 3D scene and a 2D representation on a map.
