Available with Production Mapping license.
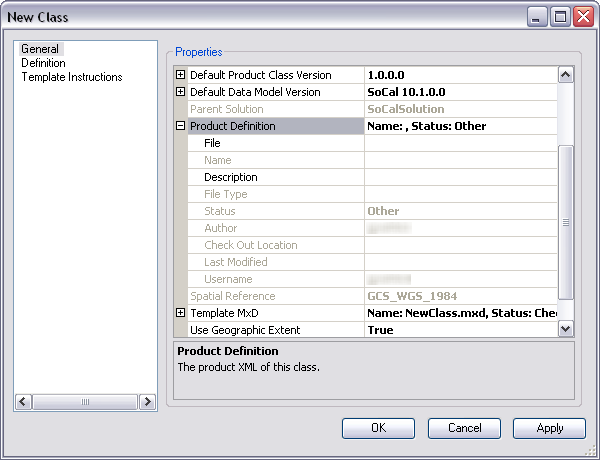
You can specify the product definition file in the New Class or Class Properties dialog box.
- Start ArcMap.
- If you do not have the New Class dialog box open, you can right-click an existing product class from the Product Library tree view and click Properties to open the Class Properties dialog box.
- Click the plus sign (+) next to Product Definition.

- Click the cell next to File and click the ellipsis (...) that appears.
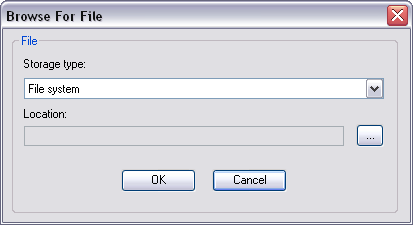
The Browse For File dialog box appears.

- Click the Storage type drop-down arrow and choose an option:
- File system—If the file is stored in a local or network computer
- Database—If the file is stored in a database
- Click the ellipsis (…) next to the Location field.
The Open dialog box appears.
- Navigate to the XML or MDB file that contains the schema information for your product class.
- Click Open.
The Browse For File dialog box appears.
- Click OK.
The New Class or the Class Properties dialog box appears. The Name, File Type, Status, Author, Check Out Location, and Username fields are automatically populated.
- If necessary, type a description in the Description text box.
- Click OK to close the dialog box or go back to Adding a new product class to continue setting the rest of the properties in the General pane.