At ArcGIS 10.1, a geoprocessing tool or model can be published as service to ArcGIS Server only after it executes successfully in ArcGIS Desktop. This ensures that the tool is valid and therefore will execute on Server as well. Therefore, after consuming or executing the custom tool in ArcGIS Desktop, follow these instructions to publish the tool as service. For more details on consuming custom tool in Desktop, please see the "Developing Extensions" -> "Custom Geoprocessing Tools" -> "Consume" -> "Consuming Custom GP Tools in ArcGIS Desktop" topic.
-
Ensure that the jar file containing your custom GP tool is deployed to ArcGIS Server and the tool registered. This can be done by placing the jar file in $AGSSERVER/usr/lib/ext folder and restarting Server. Note that this jar file must be placed manually in the above well known folder of all machines that are part of your ArcGIS Server site.
-
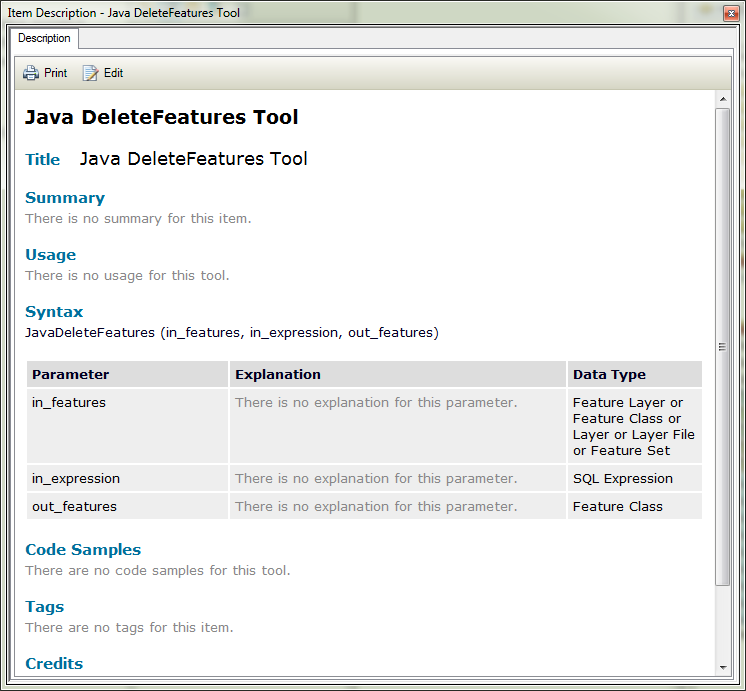
Verify that your custom tool has metadata. The ArcGIS Desktop 10.1 service publishing workflows require presence of metadata.
-
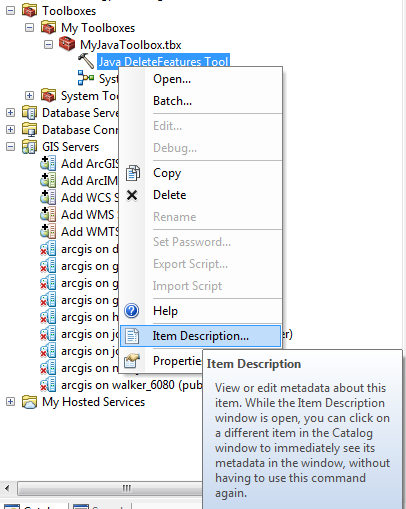
Right click your custom tool and click "Item Description".
-
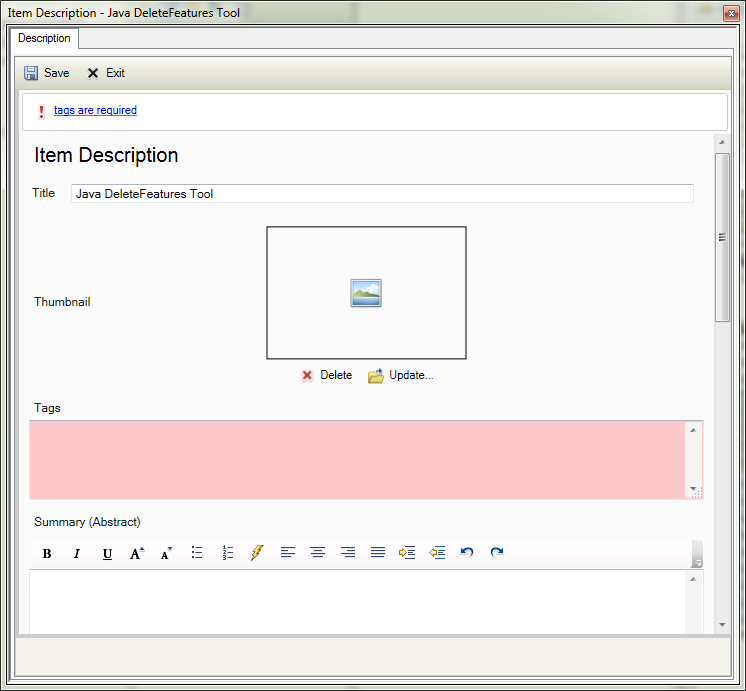
In the Item Description dialog, click "Edit" to add metadata.
-
If the "Edit" button is not available, follow instructions at http://support.esri.com/en/knowledgebase/techarticles/detail/27000 to make it available.
-
Click "Edit" and populate text for all required fields, for all components of your custom tool, including the input and output parameters. Click "Save".
-
Verify that the "Item Description" dialog now display metadata you provided.
-
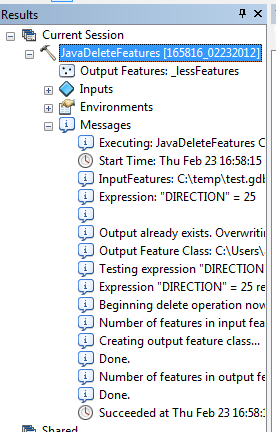
Execute your custom tool now, if you haven't already.
-
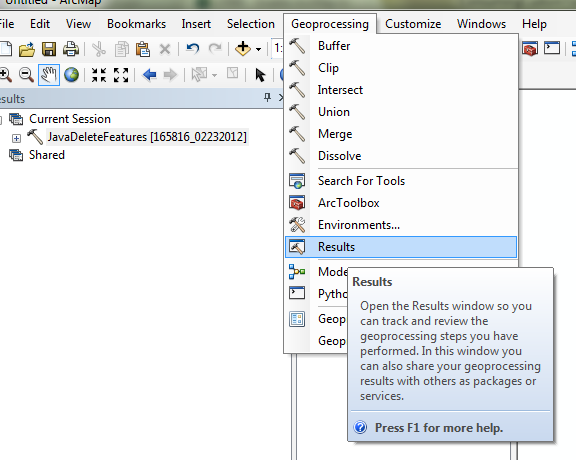
Open the Geoprocessing menu -> Results panel.
-
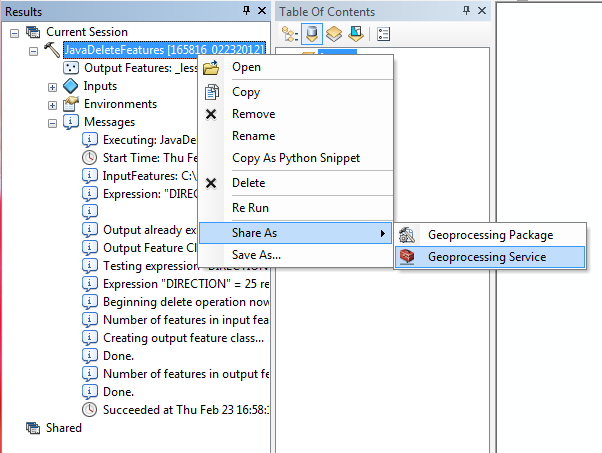
Expand results of your recently successfully executed tool's result
-
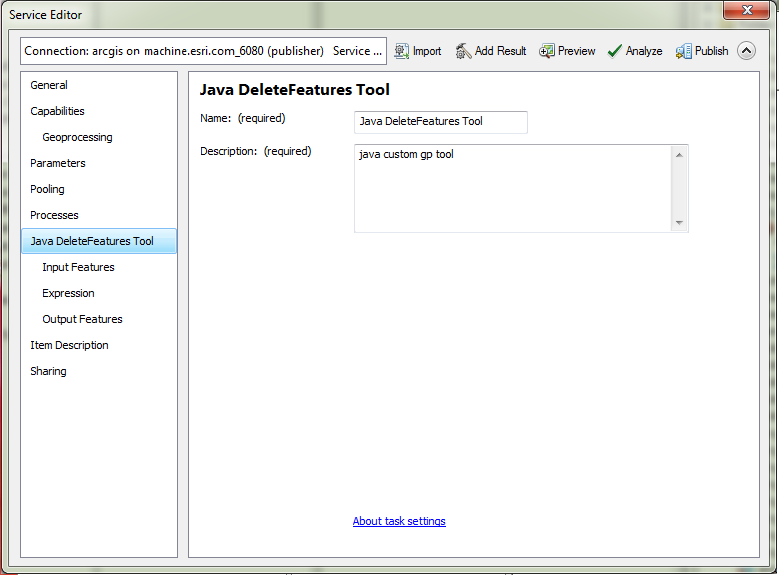
Right click the tool's results and select "Share As -> Geoprocessing Service". After completing a few initial publishing steps, the Service Editor will be displayed.
-
Select the custom tool and its parameters and verify that all require fields have values.
-
Verify that all required fields in "Item Description" section also have values.
-
Click "Publish" to publish your GP tool as service. For more details about using the Service Editor dialog, please consult ArcGIS Desktop help.
-
Log in to your Server and verify that your newly created GP service is accessible.
| Development licensing | Deployment licensing |
|---|---|
| ArcInfo | ArcInfo |