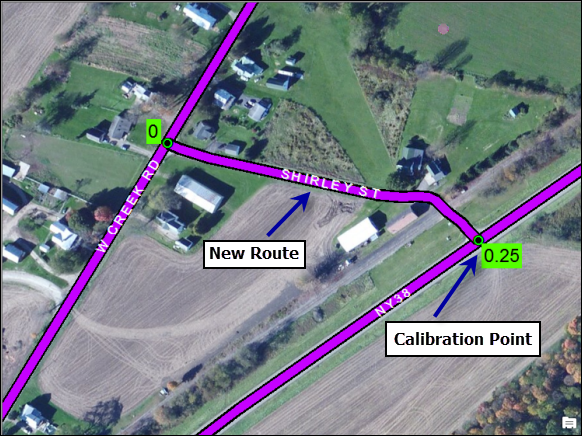
Routes are created in an Esri Roads and Highways network by choosing centerline features that participate in the route and using the Roads and Highways Create Route tool to specify the route's start date, end date, attributes, and measures. The centerline features used to create routes can preexist in the centerline feature class, be digitized into the centerline feature class (using aerial photography or other basemaps for guidance), copied and pasted from other feature classes, or imported from CAD files or other ArcGIS-supported data sources.
- Start ArcMap and add the network and the centerline layers to the map.
- Start an edit session.
For more information on how to start an edit session, see About edit sessions.
- Zoom in to the location where you want to create the new route.
- Zoom in to the location to create the new route.
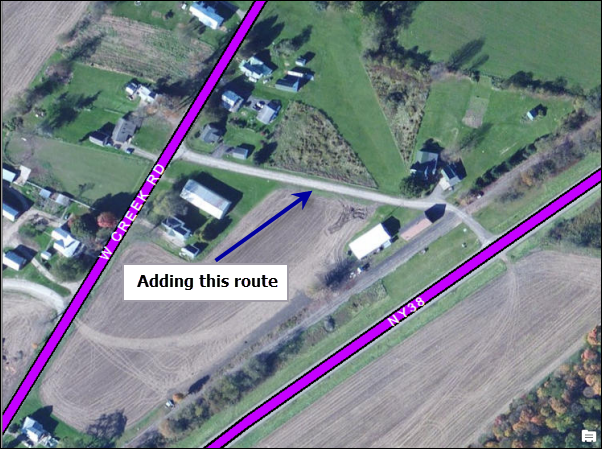
- Set the target LRS Network layer on the Roads And Highways Editing toolbar.
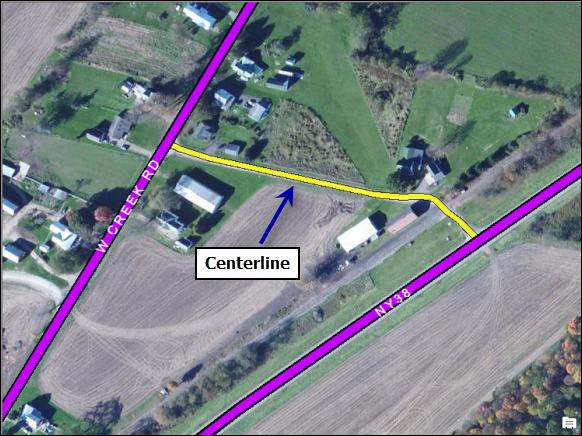
- Click the Choose Centerlines tool
 on the Roads And Highways Editing toolbar and click an existing centerline in the map at the location of the new route.
You can use multiple centerlines to create a route. For more information, see Choosing centerlines for editing activities.
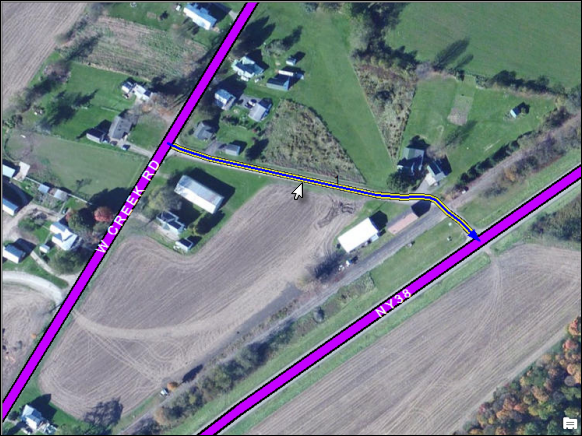
The selected centerline is highlighted in blue and the arrow shows the direction of digitization.
- Click the Create Route button
 on the Roads And Highways Editing toolbar.The Create Route dialog box appears.
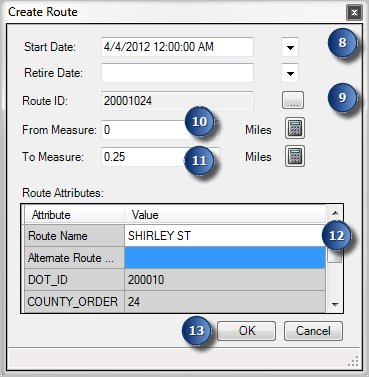
- Use the arrow button to select a start date for the route.
Alternatively, type the start date and time in the Start Date text box. The time is automatically populated with 12:00:00 AM by default.
- Type the Route ID of the new route in the Route ID text box.
The route ID is an intelligent key that uniquely identifies a route for end users. For more information on route IDs, see Routes in an LRS. If your network has a concatenated route ID, see Creating routes with concatenated route identifiers.
- The From Measure value is automatically populated as 0. This value can be changed using the following methods:
Centerline
If no redline is selected and one or more centerline features are selected, then the From Measure parameter is automatically populated with a value of 0.
You can change the method by which the From Measure parameter is calculated using suggested measures.
Suggested Measures
If you do not know the From Measure value, you can allow Roads and Highways to suggest one. The Calculate tool returns the From Measure value by calculating the centerline's geometrical length minus (-) the To Measure value.
- Optionally enter a To Measure value.
- Next to From Measure, click the Calculate button
 .
.
Redline
If a redline is selected, the From Measure parameter is populated from the From Measure column in the redline attributes.
You can change the method by which the From Measure value is calculated using suggested measures. Alternatively, you can reset your selection and choose only the centerline. The From Measure parameter is then automatically populated with a value of 0.
- The To Measure value is automatically populated with the geometric length of the chosen centerline.
Alternatively, you can type a To Measure value of your choice. There are many ways to define the To Measure value as outlined below:
Centerline
If no redline is selected and one or more centerline features are selected, then the To Measure value is populated from the centerline's geometric length.
You can change the method by which the To Measure is calculated using suggested measures.
Suggested Measures
If you do not know the To Measure value, you can allow Roads and Highways to suggest one. The Calculate tool returns the To Measure value by calculating the sum of the centerline length and the From Measure value.
- Optionally enter a From Measure value.
- Next to the To Measure text box, click the Calculate button
 .
.
Redline
If a redline is selected, the To Measure value displayed is populated from the To Measure column in the redline attributes.
The method can be changed by which the To Measure value is calculated using suggested measures. Alternatively, you can reset the selection and choose only the Centerline. The To Measure is then calculated from the Centerline's geometric length.
- Fill in attributes of the other fields in the network feature class. For the route above, populate the route name and alternative route name.
- Click OK.
If the edit activity results in introducing physical gaps in the route, a warning message appears. Clicking Yes will complete the route edit activity and introduce gaps. Clicking No will stop the edit activity and preserve the previous values.
The new route is created. Two new calibration points are also added at the two ends of the route having the From and To Measure values.
