The Task Manager toolbar for designers
The Task Manager toolbar in ArcMap is the gateway to the Task Assistant window. The image below shows the Task Manager toolbar configured for the Task Designer installation.

| Button | Name | Function |
|---|---|---|
| Task Assistant | Toggles the visibility of the Task Assistant window |
| Validate Workflow | Validates the current task assistant workflow against the current map document and configuration information |
| Reset Workflow | Unchecks all selected check boxes and resets results of the Validate Workflow command |
 | Workflow Properties | Displays the properties for the current workflow displayed in the Task Assistant window. |
| Step Builder | Adds a new step to the task assistant workflow with settings based on the current state of the ArcMap environment |
Task Manager toolbar buttons and their functions
The Task Assistant window
The Task Assistant window displays the overall task assistant workflow and any associated subtasks needed to execute a GIS task. When a step is selected, a GIS task is executed based on the properties set using Task Designer.
Tools on the Task Assistant window
The Task Assistant window includes tools to do the following:
- Create, open, and save task assistant workflows.
- Create, copy, and paste task assistant workflow steps.
- Promote and demote steps.
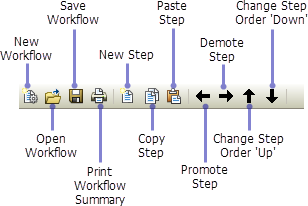
In addition, during the execution phase of steps that enable tools, a tool palette is also available on the Task Assistant window toolbar if that step contains ArcGIS tools or commands. Tools that require interaction can be grouped together in a single step so the tool palette can show the tools or commands needed whenever a step requires the use of more than one.
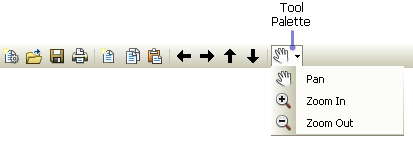
In map navigation, for example, ArcMap provides a number of different tools: Zoom In, Zoom Out, and Pan. The icon for the first tool or command in the list is displayed along with a drop-down arrow. Clicking the arrow displays the other tools or commands in the list for selection.
The Task Assistant context menu for designers
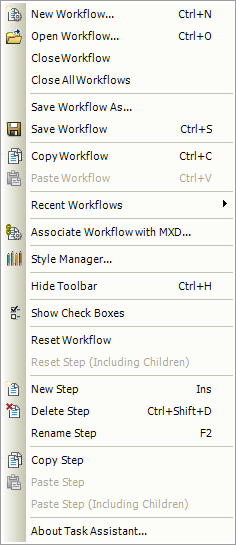
The Task Assistant window context menu is accessed by right-clicking in the Task Assistant window and allows you to do the following:
- Manage task assistant workflows.
- Manage steps.
- Access recent task assistant workflows.
- Manage step check boxes.
- Associate task assistant workflows with saved map documents.
- Manage node styles.
The tabs on the Task Assistant window
The Task Assistant window tabs for Task Designer allow you to view and configure task assistant workflows and workflow steps.
The Help tab
The Help tab displays the step description, if you created one during the step design process. Descriptions are optional but are often useful for others accessing the task assistant workflows you have designed.
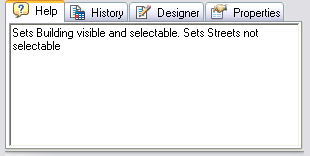
To learn more about populating the Help tab, see Adding a description.
The History tab
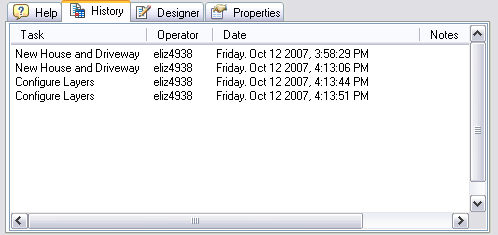
The History tab displays a log of the steps or tasks that have been completed and by which user. You can also clear the history information, load older history information, save the current history information, and edit notes.
The Designer tab
The Designer tab contains the properties that allow the configuration of the task assistant workflow steps. You can also control whether history information is logged when a step is executed and manage the way steps are executed in the workflow--whether they are locked after execution or can only be run in the order given in the workflow.
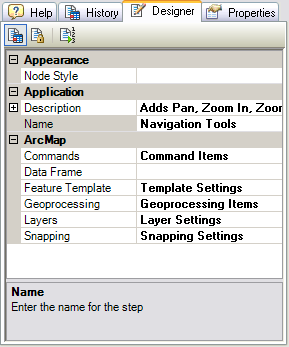
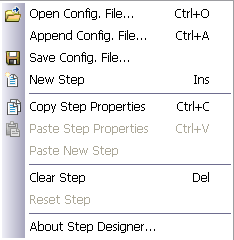
Right-clicking a cell on the Designer tab displays a context menu of commands for working with steps as well as for opening and saving the configuration file.
The Properties tab
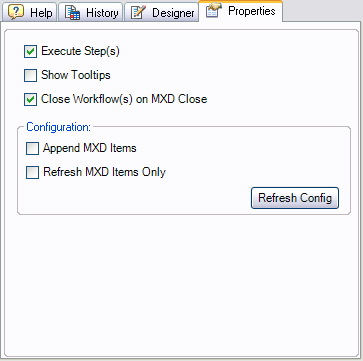
The Properties tab allows you to set application-specific properties as well as refresh the configuration file.
Editing tools for designers
Task Assistant Manager has several tools for workflow configuration and customization. You can modify description text to include bold, italicized, or underlined text. Commands can also be associated with the steps so that specific tools are available when a step is executed. Step styles can also be created, as needed, for a workflow.
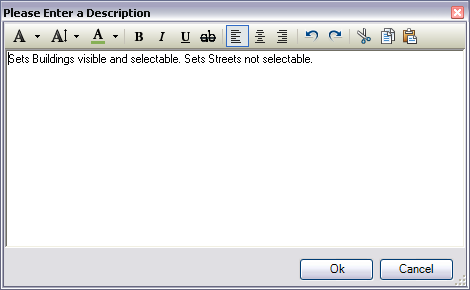
Please Enter a Description dialog box
The Please Enter a Description dialog box provides various formatting tools that can be used to create a description for a step. This includes the font style, size, color, and alignment. You can also apply bold, italics, underline, and strikethrough formatting. Text can also be copied, cut, and pasted from this dialog box to another application, such as Microsoft Word, to check the spelling in the description text.
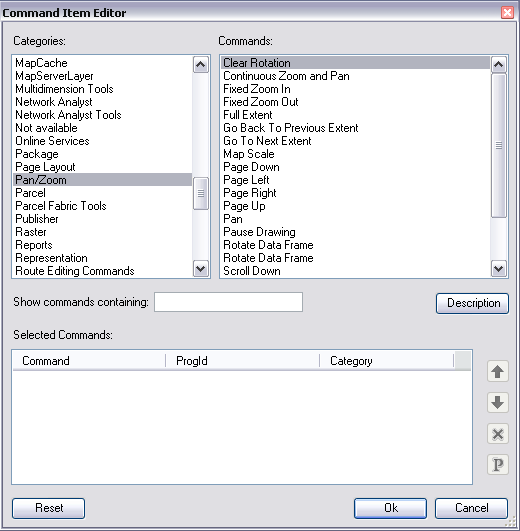
Command Item Editor dialog box
The Command Item Editor dialog box provides a way to associate commands with steps. For example, you can have a step where users must zoom to a particular area of interest in the map. In order to accomplish this, the step can be associated with the Pan, Zoom In, and Zoom Out tools. This allows the user to use the three tools to view the designated area of interest.
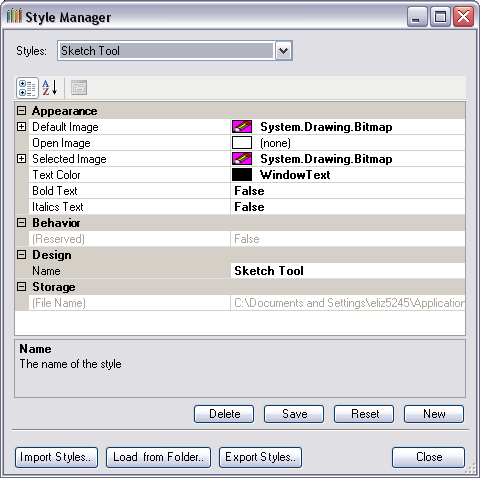
Style Manager dialog box
The Style Manager dialog box allows you to create and manage node styles that are referenced by task assistant workflows that have been created. You can also import and export custom styles.
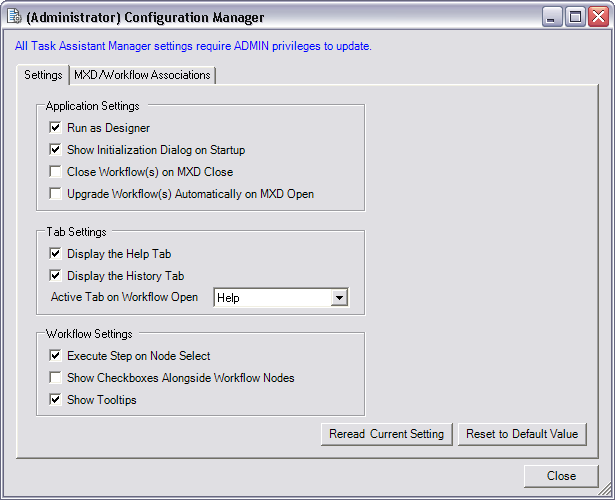
(Administrator) Configuration Manager dialog box
The (Administrator) Configuration Manager dialog box allows you to configure various options related to the Task Assistant Manager application, tab, and workflow settings. The applications settings allow you to control whether the software is run in the Task Designer mode and whether the Initializing Task Assistant window appears, workflows are closed once an MXD is closed, and workflows are automatically upgraded when you open an MXD. You can also hide the Help and History tabs in the Task Assistant window on the current machine and set the active tab. You can also customize workflow settings so they apply across ArcMap sessions, rather than being reset each time ArcMap is started.
