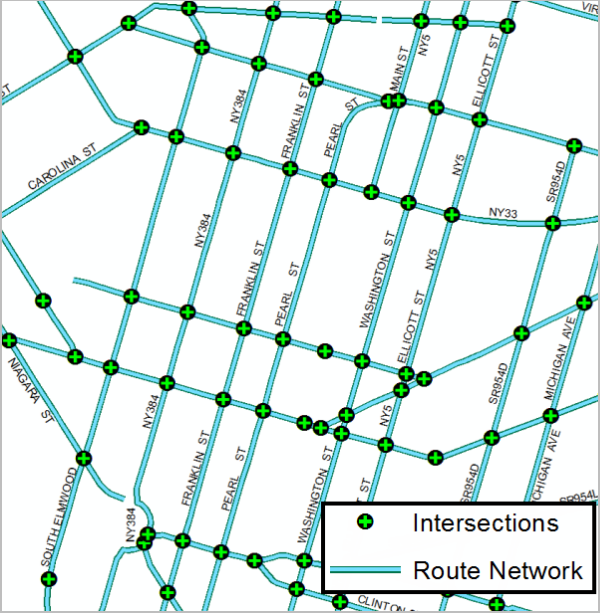
Esri Roads and Highways provides the functionality to create intersection point features at the locations where two routes meet or cross each other. The resulting intersection feature class also supports the time effectiveness of the route.
Intersection features can be used in Event Editor to provide measures based on intersection reference offset for creating new event records. For more information, see Adding linear events to a route from a referent offset location.
Creating an LRS intersection class using the same route network
You can also generate intersection points from a single route network at the locations where two routes meet or cross each other. This can be accomplished by adding the route layer as an intersection feature class in step 9 of the next section.
Creating an LRS intersection class
Use the following procedure to create an intersection feature class.
- Start ArcMap and browse to your data folder in the Catalog window.
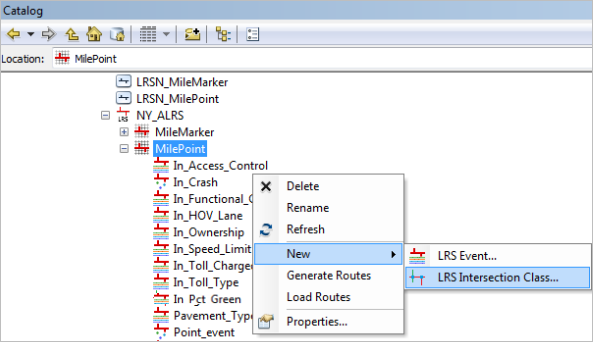
- Right-click the LRS Network and click New > LRS Intersection Class.
The ALRS Intersection Class Setup wizard appears.
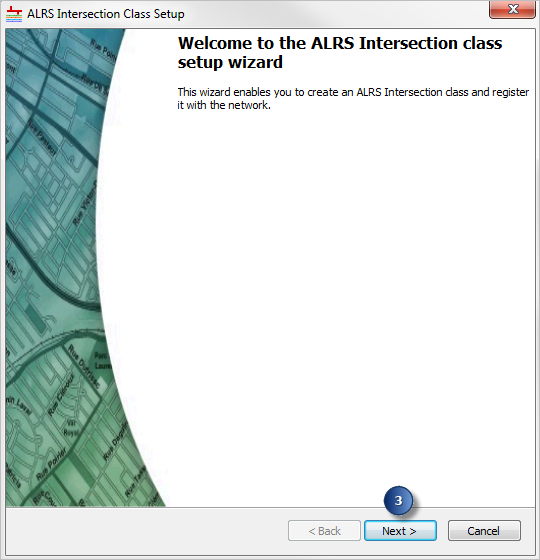
- Click Next.
The General Properties dialog box appears.
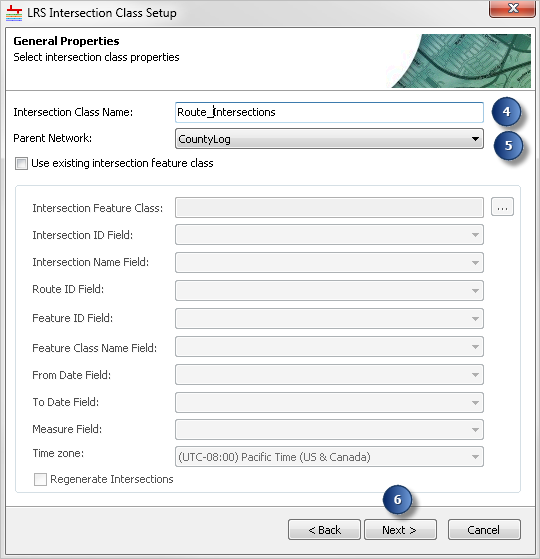
- Provide a name for the new intersection class.
- Select the parent network for the intersection class.
- Click Next.
The Intersection Inputs dialog box appears.
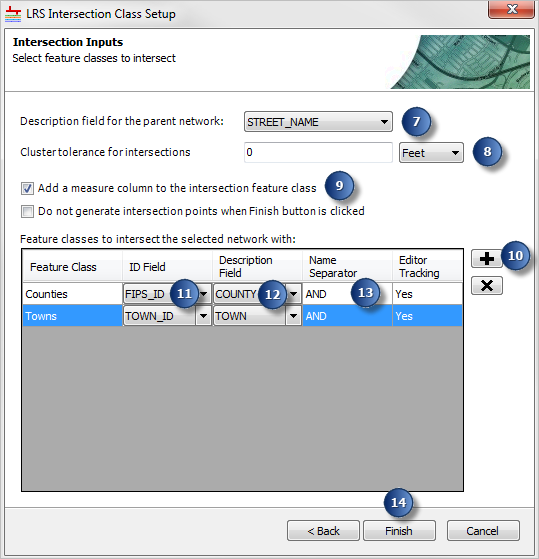
- Select a field from the route network layer that provides the description of the route, such as STREET_NAME.
This value is used in naming the intersection. The column that provides a name for the intersection is populated based on concatenating this field value with another field value from the intersecting feature. You can select any field in the data model of the network for the route name or the route's description.
- Select a cluster tolerance (in feet) for the intersection.
This is the maximum distance separating the route features from the input layers that can be termed as intersecting. The default cluster tolerance for the intersection is 0 feet.
- Check the Add a measure column to the intersection feature class check box to add a measure column.
- Click the Add Data button
 to select and add a polyline or polygon feature class.
You can add more than one feature class to participate in the intersection class. The intersections are generated with references to the route network. This means each participating feature class in the intersection is paired separately with the parent route network. No intersections are generated for the intersections found between the added feature classes, only between routes and the added features. Examples of feature classes that could be added for route intersections include county boundaries, railroads, and streams.
- Select the ID field for the input intersecting feature class.
The ID field is used to uniquely identify the feature that intersects with the route and is copied into a field for the intersection record in the intersection feature class. This ID field is used to help Esri Roads and Highways in the management and updating of intersection locations.
- Select the description field from the intersecting feature class that provides the description, such as town or county name of the intersecting feature.
This value is used in naming the intersection. The column that provides a name for the intersection is based on concatenating this field value with another field value from the network feature.
- Provide a name separator for the intersection, such as AND, INTERSECT, +, or |.
This separator is added between the route name and the intersecting feature name in the output table, for example, Park St AND Suffolk, Park St INTERSECT Suffolk, Park St + Suffolk, or Park St | Suffolk, where Park St is the route name and Suffolk is the county name.
- Click Finish.
The intersection class is now created. The intersections are created only at those locations where the routes intersect the input features.
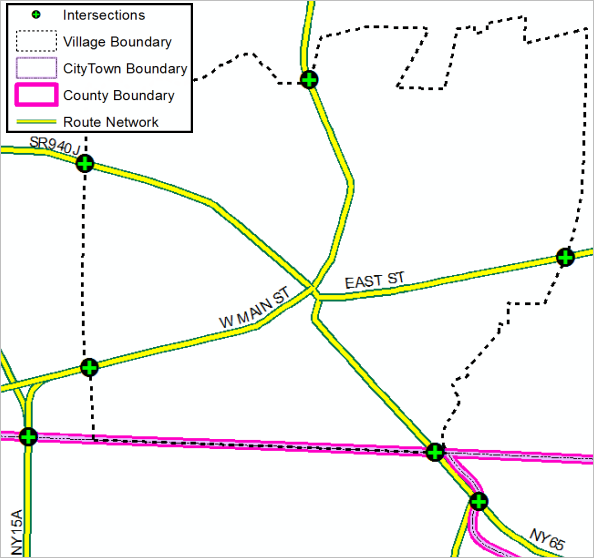
Output intersection class 
Attribute table for the intersection class