Доступно с лицензией Production Mapping.
Ticks are smaller lines that appear along neatlines or grid lines. They are associated with a particular line segment or grid line and cannot exist without that component. Ticks that appear in corners at the intersection of two line segments are known as corner ticks.
- Start ArcMap.
- On the main menu, click Customize > Toolbars > Production Cartography to add the Production Cartography toolbar.
- Click the Grids and Graticules Designer window button
 on the Production Cartography toolbar.
 - Create or load a grid that has a neatline or grid lines.
- Right-click either a Segments or Gridline component in the tree view and click Add > Ticks.
The Ticks component is added to the tree view.
- Right-click the Ticks component and click Properties.
The Tick Properties dialog box appears.
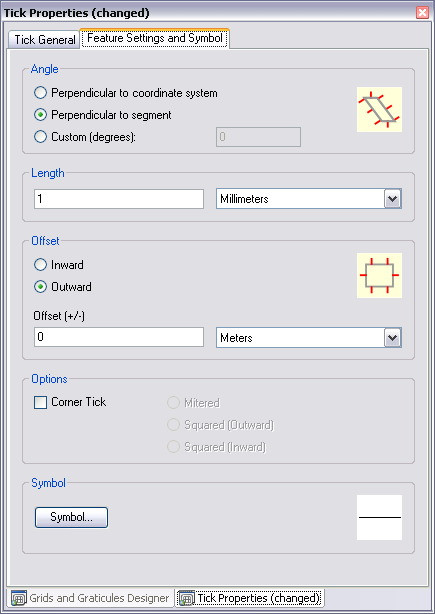
- Click the Feature Settings and Symbol tab.

- Check the Corner Tick check box in the Options area.
- Choose a corner tick type.
- Mitered—Tick extends across the diagonal line of an intersection, from the inside out.
- Squared (inward)—Tick is a squared line inside the intersection.
- Squared (outward)—Tick is a squared line that is perpendicular to the intersection.
- Click Symbol.
The Representation Rule Selector dialog box appears.
- Choose a symbol and set the appropriate properties.
- Click OK.