ArcGIS for Aviation: Charting has several Python functions that can be grouped together to run several functions in succession. The Aviation Python Script Generator allows you to update cartographic features, apply visual specification rules, and create feature-linked annotation for several products at once. Scripting allows you to automate the same process on several products at once, making the workflow more efficient.
The Aviation Python Script Generator requires you to have a product library and production database set up so it can get the appropriate information for the data frames and map IDs. Each process is represented by a different part of the wizard and requires you to indicate which feature classes to process from the production database. This tool also allows you to build a dictionary of the MXDs, map IDs, and data frames that need to be referenced to run each process outlined in the script.
Although three processes are included in the script by default, you can choose to not run one or more of the processes.
- 启动 ArcMap。
- On the main menu, click Customize > Toolbars > Aviation Data Management.
-
Click the Aviation Python Script Generator button
 on the Aviation Data Management toolbar.
The Aviation Python Script Generator dialog box appears. The paths to the product library and production database are displayed in the Product Library Path and Production Database Path fields, respectively. By default, all the processes are selected, but you can uncheck the check box next to the process you do not want to run.
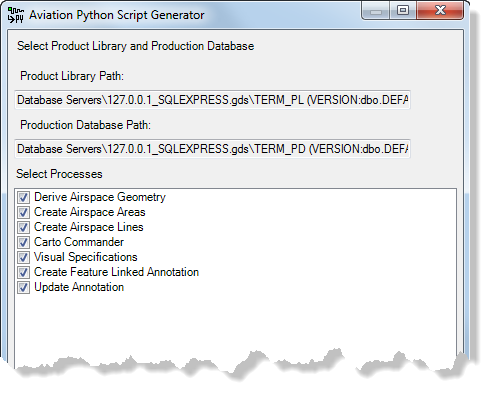
- Click Next.
The Aviation Python Script Generator dialog box appears with the Derive Airspace Geometry section, if you selected this process.
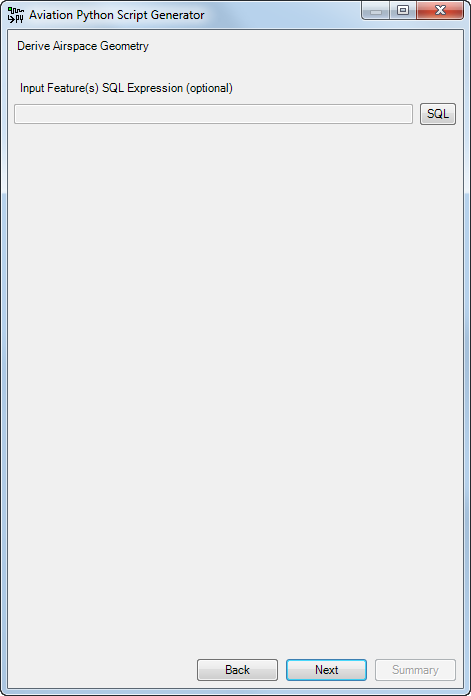
- Optionally construct an SQL query to select a subset of features that need null geometry updated.
For more information on SQL syntax, see the SQL reference for query expressions used in ArcGIS.
If you are only creating a script for Derive Airspace Geometry, you can continue to step 26.
- Click Next.
In this part of the wizard, you select which instances will have the processes run on them.
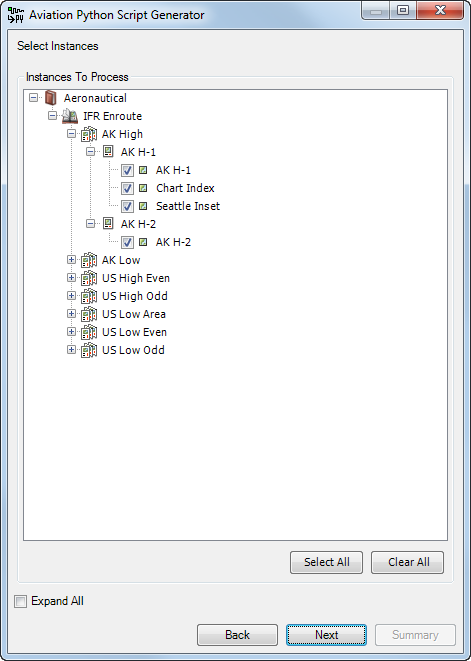
- Expand the Instances to Process list and check the check boxes next to them.
Check the Expand All check box to expand the entire tree view. You can also click Select All or Clear All to select or unselect all the instances at once, respectively.
- Click Next.
The Aviation Python Script Generator dialog box appears with the Select Tool Preference section if you selected Create Airspace Areas or Create Airspace Lines.
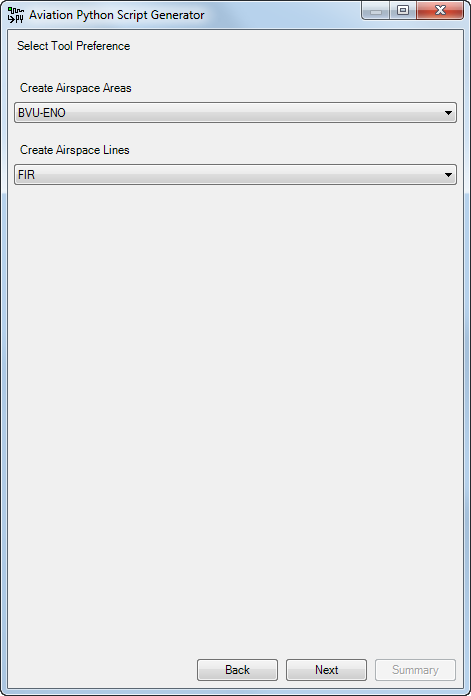
- Click the drop-down arrow next to the type of airspace you want to create and choose a preference.
If you are finished with the setup for the processes you selected, you can continue to step 26.
- Click Next.
The Aviation Python Script Generator dialog box appears with the setup for Carto Commander. In this part of the wizard, choose the feature classes that will have their cartographic features updated.
If you are not going to run the Carto Commander process but will run Visual Specifications, Create Feature Linked Annotation, or Update Annotation, proceed to step 12.
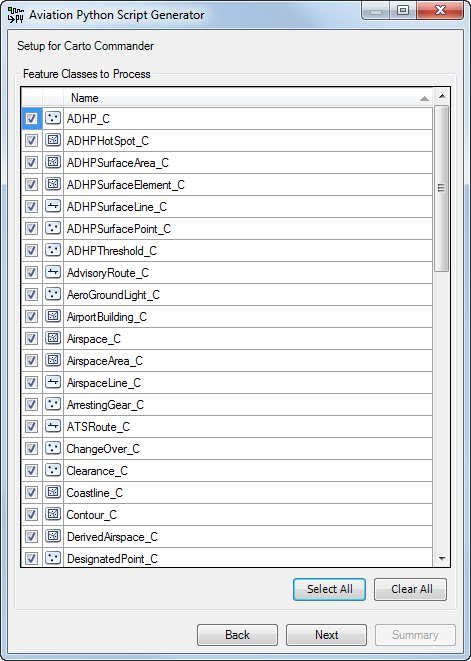
- Check the check boxes next to the feature classes for which you want to update the cartographic features.
Click Select All or Clear All to select or unselect all the feature classes, respectively.
If you are finished with the setup for the processes you selected, you can continue to step 26.
- Click Next.
The Aviation Python Script Generator dialog box appears. In this part of the wizard, you are building a dictionary of the maps and data frames that will be processed if you selected either Visual Specifications, Create Feature Linked Annotation, or Update Annotation. The path to the MXD file is also required.
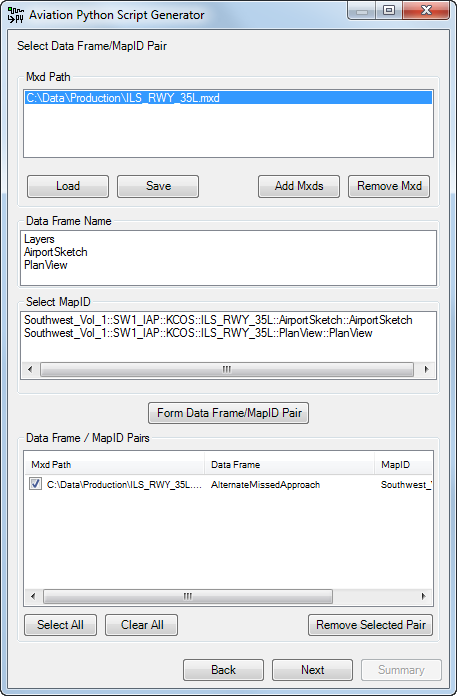
- Click the Add Mxds button under the Mxd Path list.
The Select MXDs dialog box appears.
- Browse to the MXDs to be processed by the script.
- Select the MXD files and click Open.
After the MXDs have been opened and appear in the Mxd Path list, click Save to save the list as a text file. This allows you to use the Load button to load the list of MXD files the next time you want to generate a script on the same set of MXDs. Once they are loaded, use the Remove Mxd button to remove individual MXDs as necessary.
- Create a data frame and map ID pairing by doing the following:
- Click an MXD name in the Mxd Path list.
The Data Frame Name list is populated with the names of the data frames in the MXD.
- Click the name of the data frame to be processed in the Data Frame Name list.
- Click the name of a map ID in the Select Map ID list.
- Click Form Data Frame/Map ID Pair.
- Repeat steps 16a through 16d for the remaining data frame and map ID pairs to be created.
- Click an MXD name in the Mxd Path list.
- Check the boxes next to the MXDs to be processed in the Data Frame/Map ID Pairs list.
Click Select All or Clear All to select or unselect all the MXDs in the list. You can also check one of the check boxes and click Remove Selected Pair to remove the pair from the Data Frame/Map ID Pairs list.
- Click Next.
The Aviation Python Script Generator dialog box appears if you selected Visual Specifications. In this part of the wizard, choose which visual specifications to apply and to which feature classes.
If you are not going to run the Visual Specification process, proceed to step 22 for Create Feature Linked Annotation or to step 25 for Update Annotation.
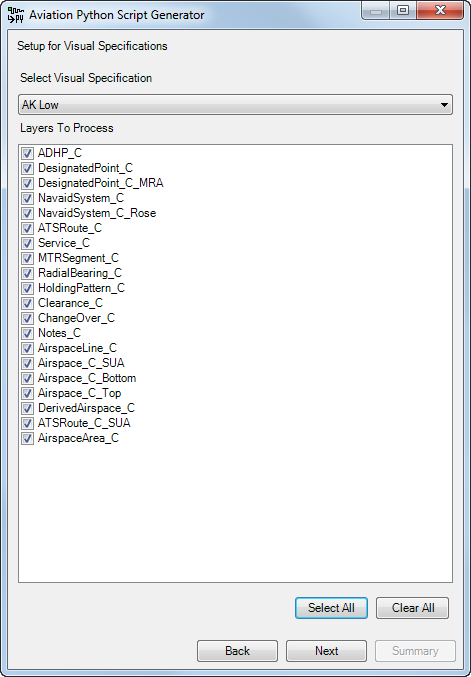
- Click the Select Visual Specification drop-down arrow and choose the name of a specification.
The Layers To Process list is populated with the cartographic feature classes where rules are applied.
- Check the check boxes next to the feature classes to process.
Click Select All or Clear All to select or unselect all the feature classes in the list.
If you are finished with the setup for the processes you selected, you can continue to step 26.
- If necessary, repeat steps 19 and 20 for the other specifications to be applied to the data.
- Click Next.
The Aviation Python Script Generator dialog box appears. In this part of the wizard, choose feature classes that will have feature-linked annotation generated.
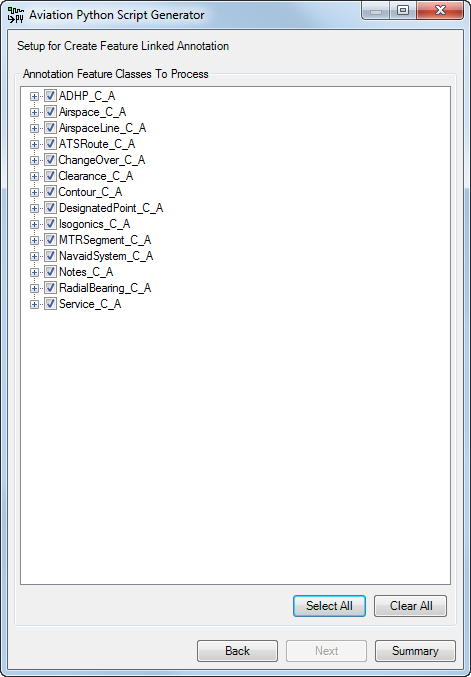
- Check the check boxes next to the names of the annotation feature classes to process in the Annotation Feature Classes To Process list.
When the check box is checked, all the annotation classes are automatically selected. To only process specific annotation classes, expand the annotation feature class and uncheck the class you do not want to process.
If you are finished with the setup for the processes you selected, you can continue to step 26.
- Click Next.
The Aviation Python Script Generator dialog box appears with the setup for Update Annotation. In this part of the wizard, you choose feature classes that will have annotation updated.
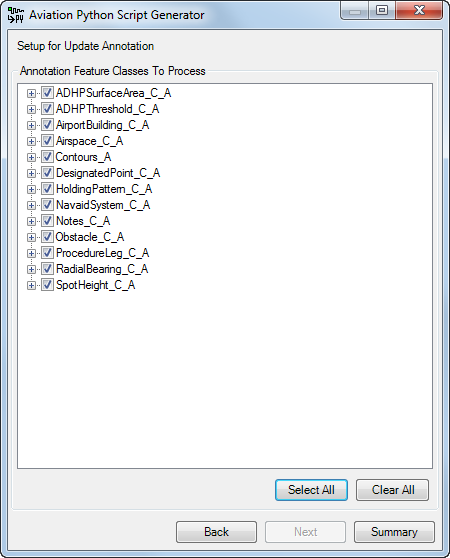
- Check the check boxes next to the names of the annotation feature classes to process in the Annotation Feature Classes To Process list.
When the check box is checked, all the annotation classes are automatically selected. To only process specific annotation classes, expand the annotation feature class and uncheck the class you do not want to process.
- Click Summary.
The Aviation Python Script Generator Summary dialog box appears with the complete script content based on the parameters you provided.
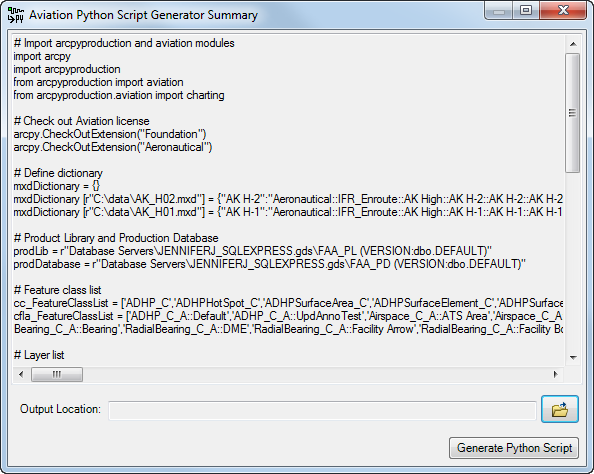
- Click the browse button next to the Output Location field and browse to a location where the script can be saved.
- Type a name for the script in the File name text box and click Save.
- Click Generate Python Script.
The Python script is created and saved in the output location specified. The Aviation Python Script Generator message appears indicating whether the script was generated successfully.
- Do one of the following:
- Click Yes to close the message and Aviation Python Script Generator wizard.
- Click No or Cancel to leave the wizard open and make corrections as needed.