Available with Production Mapping license.
There are two different levels of interaction with the product library in the enterprise implementation of the product library: administrators and users. These levels of access are controlled through ArcCatalog database connections. The administrators manage the overall product library including the structure, components, and user permissions. Administrator permissions to a product library are only granted to the schema owner of the database. Permissions for specific users are granted by administrators at the series level of the product library.
Users can have varying degrees of access to parts of the product library based on whether they have geodatabase edit, read/write, or read-only permissions on their Windows login; however, users can be part of different domains.
Once the user is added, the permissions can be granted at the series level of the product library. Using the administrator's database connection, user accounts are created for anyone who is going to have access to the product library; the database connection is assigned to a role created by the administrator. To create a new user, the person must first be added as a product library user, then permissions can be assigned. This allows anyone who has a user account to access the product library to the degree their permissions allow.
Adding new users to the product library
Initially, the user must be added to the geodatabase by the administrator. Each user is added using the first name, last name, and Windows user name.
- Start ArcMap.
- If necessary, open the Product Library window by clicking Customize > Production > Product Library on the main menu.
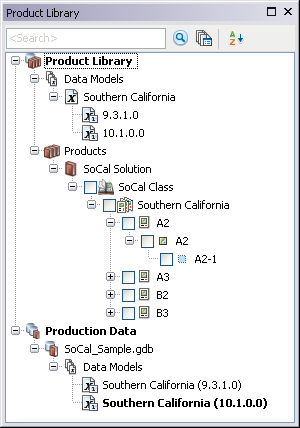
A tree view of the product library appears.

- Right-click Product Library and click Configure > Users.
The User Editor dialog box appears.

- Right-click anywhere in the Users in the current Product Library list and click New User.
A new row appears in the list.
- Type the user's first name in the First Name cell.
- Type the user's last name in the Last Name cell.
- Type the user's Windows login name in the Username (Domain\Username) cell.
- Repeat steps 4 through 7 for each user you need to add to the product library.
- Click OK.
Assigning permissions to users
Once the user is added, the permissions can be granted at the series level of the product library.
Permissions are passed down to all products within a given series. For example, if a user is given permission to one or more series below a particular class or solution, the user has access to those entries. By default, the permissions for a user are set to Not Available, but there are a total of four different levels:
- Not Available—The series and all components beneath it are hidden from the user.
- Read Only—Properties can be viewed for all levels of the product library.
- Check In/Check Out—Files can be checked in and out.
- Edit—Product library levels can be added, modified, and removed, and files can be checked in and out.
- Navigate to the series level of the product class for which you want to assign permissions.
- Right-click the series name and click Permissions.
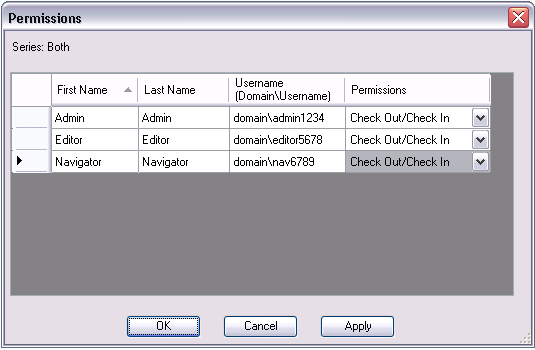
The Permissions dialog box appears.

- Click the Permissions drop-down arrow for the user to whom you want to grant permissions and choose an option.
- Repeat step 3 for all users to whom you want to give permissions.
- Click OK.
Your product library is now ready to store data and/or products and be accessed by other users.