This operation requires that you register an event using source data such as a table, feature class, Microsoft Access database, or Excel spreadsheet. If the event being registered is a feature class, Roads and Highways uses the provided feature class and also provides an option to regenerate the shapes or use the existing shapes as is. Once the event feature class is created, it becomes the authoritative source for the event data. If the event being registered is not a feature class, Roads and Highways will create a feature class with the prefix LRSE. This LRSE feature class becomes the authoritative source for the event data and should be used when creating an MXD for use in the Roadway Characteristics Editor. The source event used for registration is no longer needed within Roads and Highways.
During the registration process, Roads and Highways slices events into different features to provide support for temporality and honor the changes in route shape and measures across time. Desktop editing of the event shapes using the ArcGIS editing tools is not supported. Roads and Highways will take care of managing and generating event shapes based on changes to the event's route ID, measures, from date, to date, or changes to the route with which the event is associated.
- Start ArcMap and open the Catalog window or start ArcCatalog.
- In the Catalog tree, connect to the geodatabase that contains the ALRS and LRS Network for which you want to register event layers.
- Expand the ALRS that contains the LRS Network for which you want to add event layers.
- Right-click the LRS Network and click New > LRS Event.
The ALRS Event Setup wizard appears.
- Click Next.
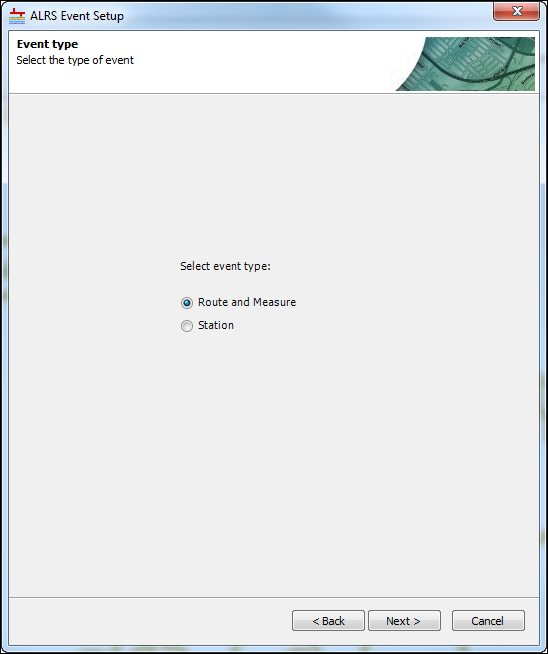
- Click Route and Measure.
- Click Next.
The General event properties dialog box appears.
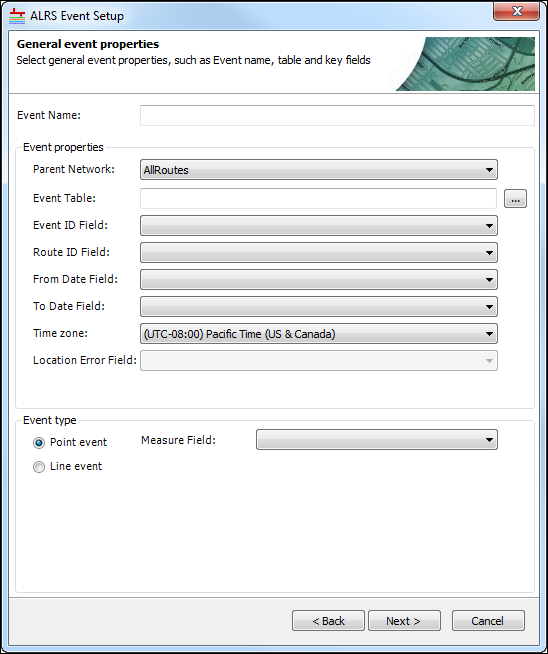
- Type a name for your event layer in the Event Name text box.
- Verify that the parent network is set to the correct network.
- Click the browse button next to the Event Table text box.
The Browse Data dialog box appears.
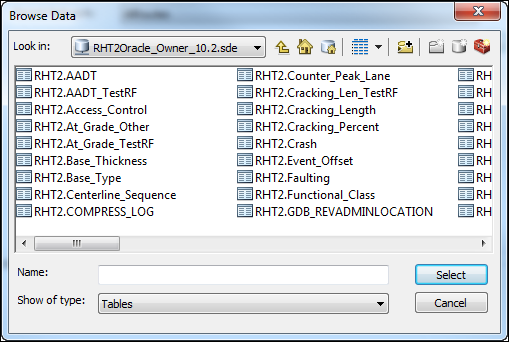
See Registering an external event source to learn more about setting up database connections to your external event database.
- Browse to the business table for which you want to create an event layer and click Select.
If the table you browse to is in the same geodatabase as your LRS Network, you will create a local event. If the table you browse to is outside of the geodatabase, you will create an external event. You must use caution to ensure you are pointing to the correct location when you browse to your business table. For more information about internal and external events, see Event types.
The General event properties dialog box is populated with information from the event table.
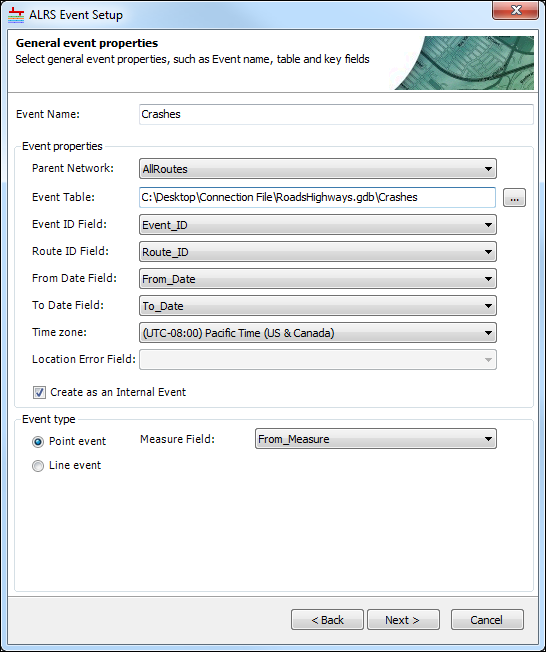
- Verify and update the rest of the information on the General event properties dialog box as needed.
- Set the Event ID Field value.
- Set the Route ID Field value.
- Set the From Date Field value.
- Set the To Date Field value.
- Set the Time zone value.
- Set the event type by choosing either the Point event or the Line event option.
By default, the Event ID Field value is used as the primary key when the From Date Field and To Date Field values are not defined.
If the From Date Field and To Date Field values are defined, the primary key uses a combination of the Event ID Field, From Date Field, and To Date Field values.
If the external table supports the Roads and Highways temporality model at the time the event is created, specify the From Date Field and To Date Field values.
If the From Date Field and To Date Field values are not provided, Roads and Highways assumes that the external table does not support temporality and expects only one entry per event. In this scenario, the Event ID column is treated as unique.
Ensure the values in the FromDate and ToDate columns are not conflicting.
- Set the From Measure and To Measure fields.
- Click Next and check Store referent location with event records to optionally set event referent offset field settings.
For more information about storing referent and offset, see Storing referent and offset information for event location.
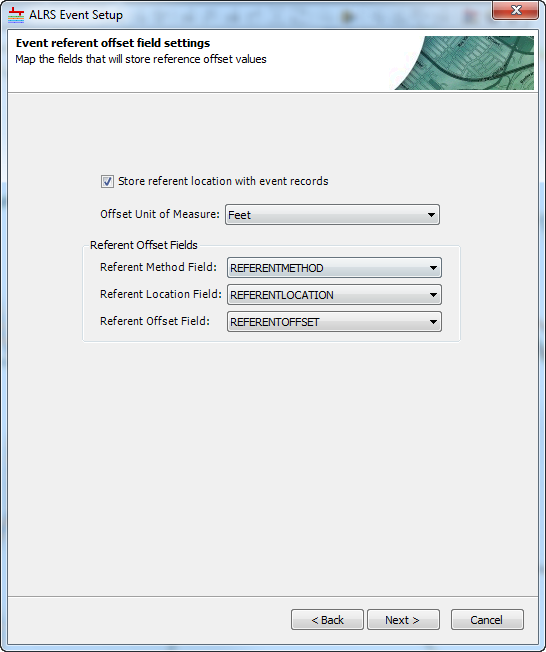
- Click Next to set event behavior.
For more information about setting event behavior, see Event behaviors.
- Click Next to set perpendicular offset.
Setting perpendicular offset is supported only for external events. For more information about perpendicular offsets, see Setting perpendicular offsets for event layers.
- Click Finish.