Prerequisite:
Custom data source connections provide data that is accessed via a custom component.
Schematic Dataset Editor allows you to create a data source to connect to data you want to work with through a custom data source. To create the data source, you must start with the steps detailed in the Creating a schematic data source topic and choose Custom Data Source connection when specifying the data source type at step 6. The steps below concern the specific custom data source configurations that are expected to be operative at step 7 in the Creating a schematic data source topic.
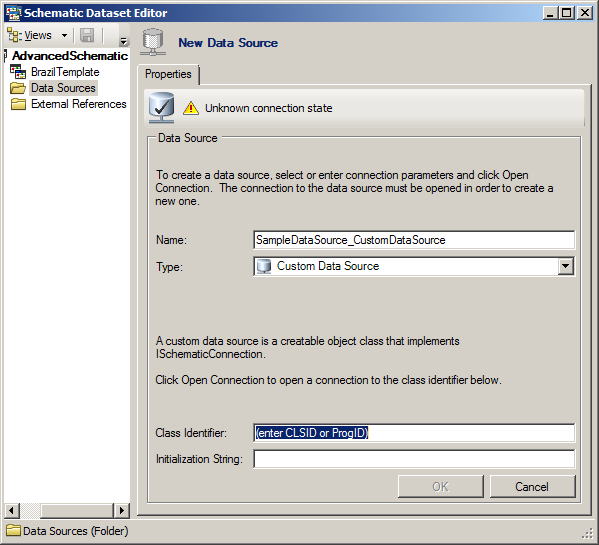
When selecting Custom Data Source as the type for a new schematic data source, the Properties tab appears as follows:
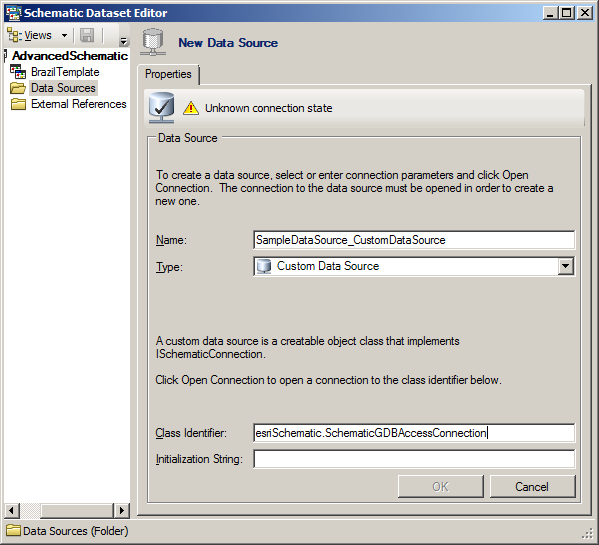
- Type the CLSID or ProgID that references the desired custom type of data source in the Class Identifier field.
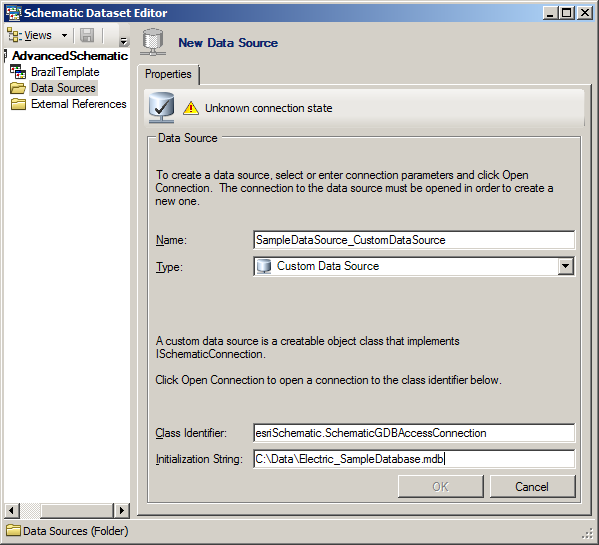
For example, to connect a personal geodatabase, type esriSchematic.SchematicGDBAccessConnection for the Class Identifier parameter; for a file geodatabase, use esriSchematic.SchematicGDBFileConnection; and for an ArcSDE geodatabase, type esriSchematic.SchematicGDBSdeConnection.

- Type the path that will be used to connect the desired database in the Initialization String field.

- Click the Open Connection button
 at the left top corner of the Properties tab.
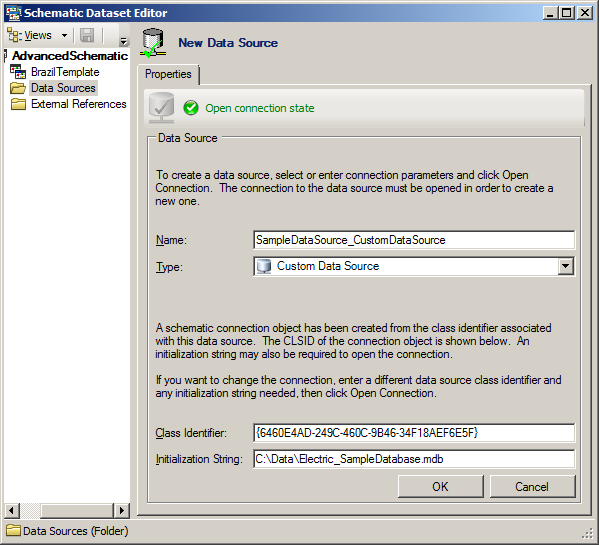
Schematic Dataset Editor tries to open the data source. When it opens correctly, the Class Identifier parameter automatically changes, displaying the CLSID of the connection, and the OK button is enabled.

To put an end point to any custom data source connection, you need to execute step 8 and step 9 as explained in the Creating a schematic data source topic.