Available with Data Reviewer license.
With ArcGIS Data Reviewer, you can create different reports based on the records in the Reviewer table. These reports can be run for one or more Reviewer sessions. They allow you to view the check results based on different groupings or the total number of records in the table. You can also generate a report just for sampling results.
The reports are automatically generated as Microsoft Excel spreadsheets. This allows you to customize the formatting for the spreadsheet as needed.
- Start ArcMap.
- On the main menu, click Customize > Toolbars > Data Reviewer.
- Start a Reviewer session in one of the following:
-
Click the Reviewer Table button
 on the Data Reviewer toolbar.
- On the Reviewer Table window, click Options > Report.
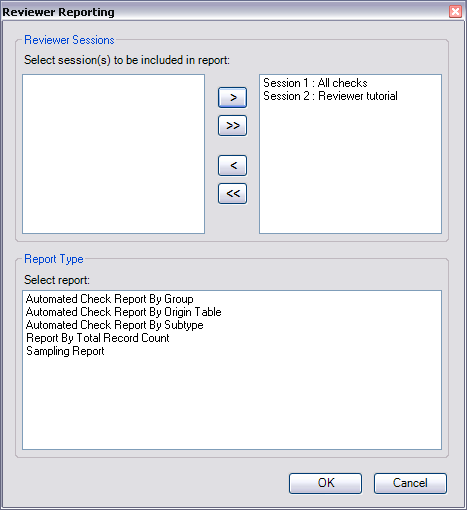
The Reviewer Reporting dialog box appears.

- Choose the session you want the report to include from the Select session(s) to be included in the report list.
- Click the Add button > to add the session to the list on the right.
- Choose the report you want to create in the Select report list.
- Automated Check Report By Group—A report is generated in which the table records are grouped by batch job, the date and time when the batch job was run, and batch job group.
- Automated Check Report By Origin Table—A report is generated in which the table records are grouped by batch job, the date and time when the batch job was run, and feature class or table.
- Automated Check Report By Subtype—A report is generated in which the table records are grouped by the batch job, the date and time when the batch job was run, and feature class or table, then by the subtype on which the batch job has been run.
- Report By Total Record Count—A report is generated in which the table records are grouped by the feature class on which the check has been run, then the name of the check (check type) and the check title.
- Sampling Report—A report is generated based only on the results of the Sampling check.
- Click OK.
The Save As dialog box appears.
- Navigate to the directory where you want to save the Excel spreadsheet.
- Type a name for the file in the File name text box.
- Click Save.
The report is created and opens in Microsoft Excel.