Available with Production Mapping license.
You can add or create new data model versions for your product library. Versions can be added to models as your organization supports changes to a model. When feature datasets are included in the schema file, the feature classes in the dataset are included as part of the data model version.
- Start ArcMap.
- If necessary, open the Product Library window by clicking Customize > Production > Product Library on the main menu.
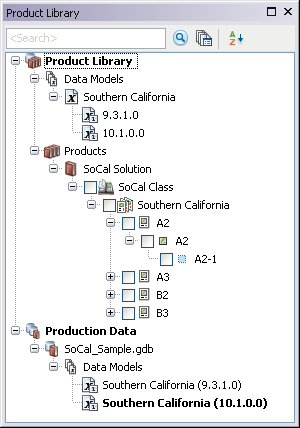
A tree view of the product library appears.

- Right-click the data model name and click New Data Model Version.
The Data Models dialog box appears.

- Click the ellipsis (...) next to the Choose Data Model Workspace text box.
The Browse to the workspace document dialog box appears.
- Browse to the XML file that corresponds with the data model.
- Click Select.
The Data Models dialog box appears. The path to the XML file or geodatabase you chose appears in the Choose Data Model Workspace field.
- Double-click the Major text box and type the new major version number you want to assign to the data model.
- Double-click the Minor text box and type the new minor version number you want to assign to the data model.
- Double-click the Edition text box and type the new edition number you want to assign to the data model.
- Double-click the Revision text box and type the new revision number you want to assign to the data model.
- Check the Version check box next to each table, feature and feature dataset you want versioned in an enterprise geodatabase.
- Check the Archive check box next to each table and feature dataset you want to archive.
- Click OK.
The Creating Data Model Version progress dialog box appears with the status information.
- Click OK when the process completes.
The new data model version appears in the Product Library tree view under the data model you chose.