ArcGIS Roads and Highways allows you to connect to and register your event data, even if it is stored and maintained outside of the geodatabase with your LRS. This is important because some event data is traditionally considered to be nonspatial tabular data. Linear referencing systems (LRS) spatially enable tabular data by giving it shape and geospatial locations, but the systems that house the data may not have any spatial concept. The LRS allows you to set up a read-only connection to your event data. This allows you to not only visualize your data in a different way, but also to spatially integrate your business data with other enterprise data.
The process of connecting to external RDBMS systems (nonspatial databases) is a connection to your database server using the Database Servers node in the Catalog tree in ArcGIS for Desktop. See Set up an enterprise geodatabase in SQL Server and Set up a geodatabase in Oracle for more information on establishing a database connection.
Roads and Highways is flexible in the types of data to which it allows you to connect; however, there are still some conventions you must follow to register external events with the LRS:
- Must have an Event ID and Route ID
- Event IDs in external business tables or feature classes must be text
- Globally unique identifiers (GUID) are converted to text
- Oracle integer fields are defined as a numeric field with precision but not scale, for example, Numeric(38)
- May have a date/time field
- If date/time is not used, full temporal viewing of event data is not supported
- May use a single effective date, but both from and to dates are recommended
- In SQL Server, you must use the Datetime data type. Datetime2 is not supported
- Point events only require one measure field; linear events require two measure fields
- Start ArcMap and open the Catalog window.
- Expand the LRS that contains the LRS Network for which you want to add event layers, right-click the LRS Network, and click New > LRS Event.
The ALRS Event Setup wizard appears.
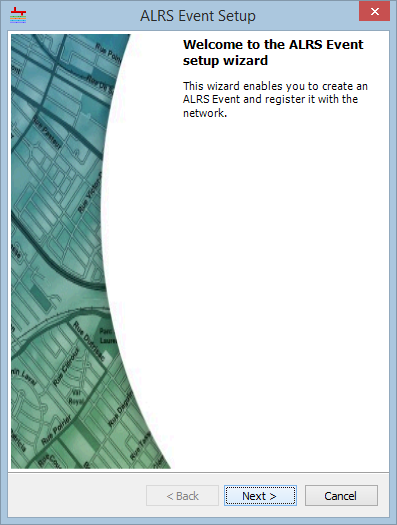
- Click Next.
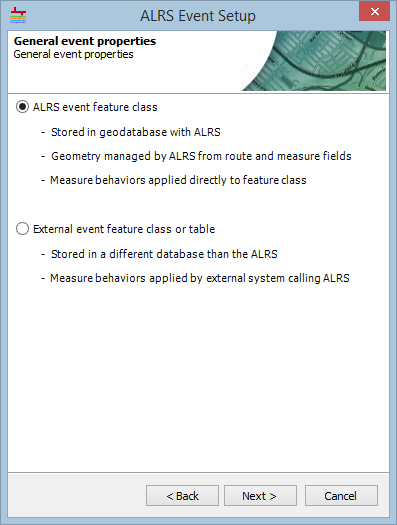
- Select the External event feature class or table button.
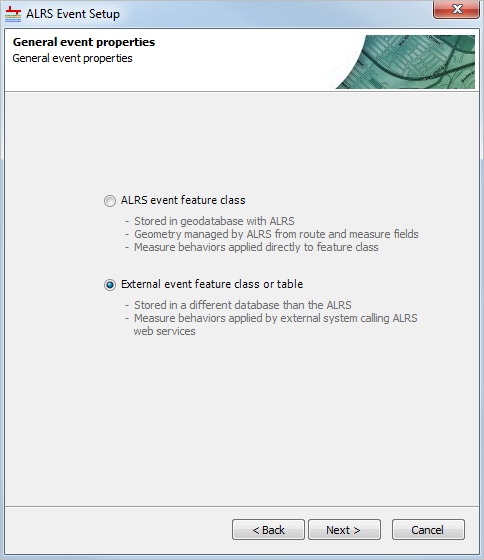
- Click Next.
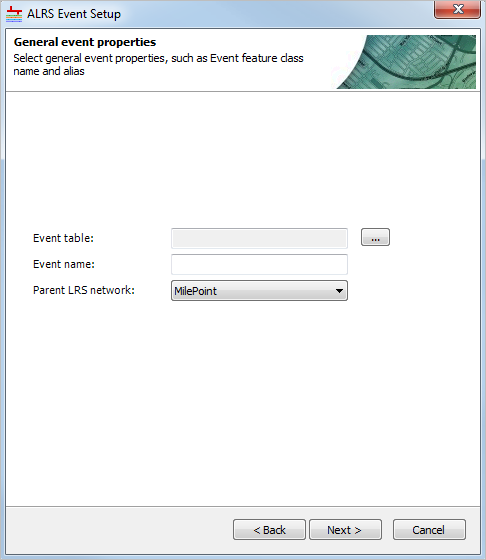
- Click the browse button next to the Event Table text box.
The Browse Data dialog box appears.
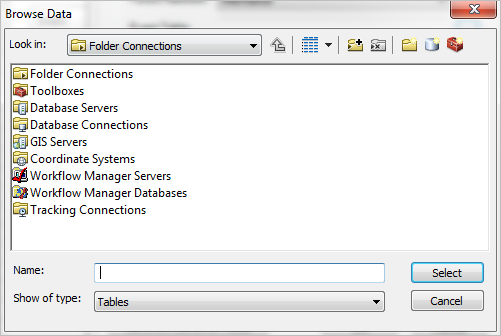
- Browse to the location of the connection file (.sde) used to connect to the external event table. Double-click the connection file to open the connection. If you do not have a connection file (.sde), follow the instructions in Database connections in ArcGIS for Desktop.
The Browse Data dialog box appears with the Oracle connection file included.
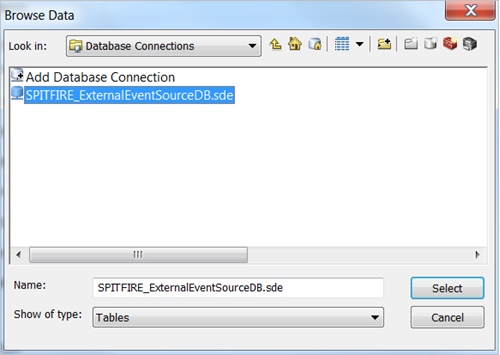
- Select the event table or feature class within the database to use as a source for registering the external event layer and click Select.
The Event table text box shows the path of the selected feature class table.
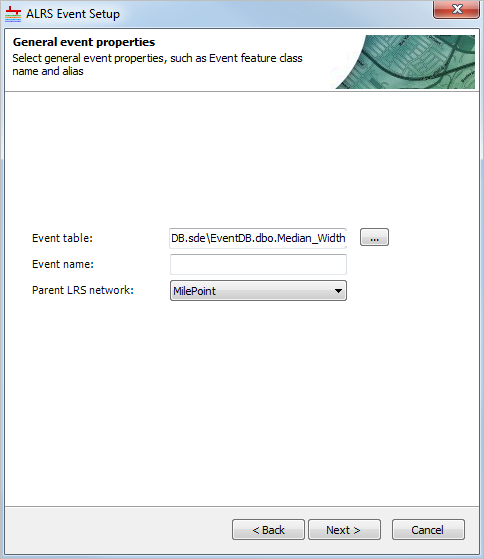
- Type the name that will appear in the ALRS for the event in the Event name text box.
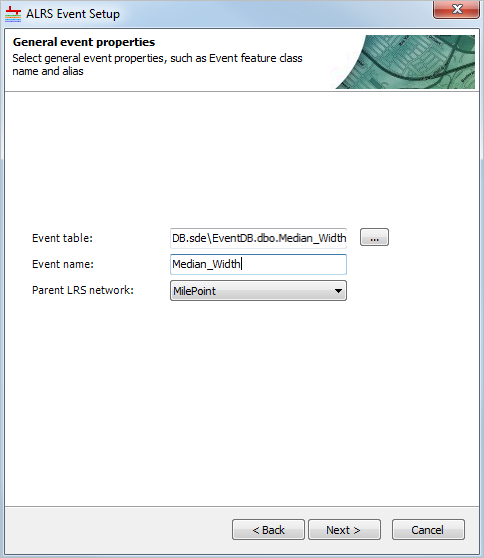
- Click Next.
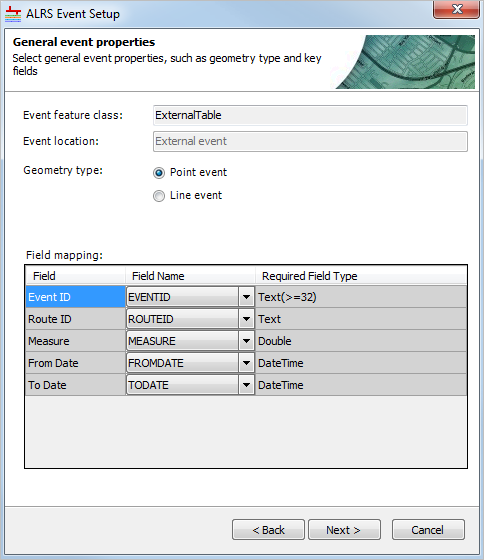
- For Geometry Type, choose either the Point event or Line event option.
- Verify and update the Field mapping, as needed.
- Click the Event ID Field drop-down arrow and choose a value.
- Click the Route ID Field drop-down arrow and choose a value.
- If you have a point event, click the Measure Field drop-down arrow and choose a value.
- If you have a linear event, click the From Measure Field drop-down arrow and choose a value.
- If you have a linear event, click the To Measure Field drop-down arrow and choose a value.
- Click the From Date Field drop-down arrow and choose a value.
- Click the To Date Field drop-down arrow and choose a value.
- Click Next.
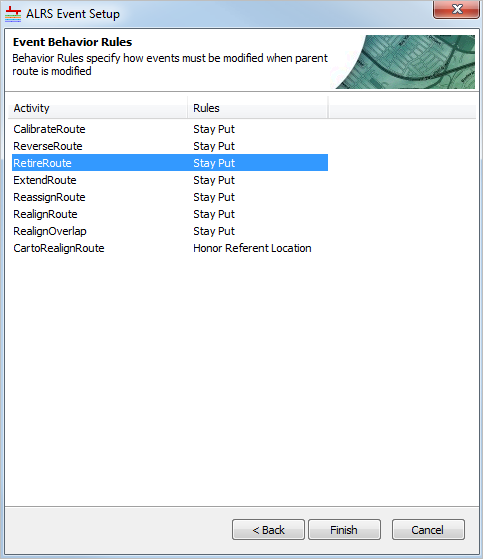
- Configure the Event Behavior Rules of each edit activity for the event. For more information about event behaviors, see Event behaviors.
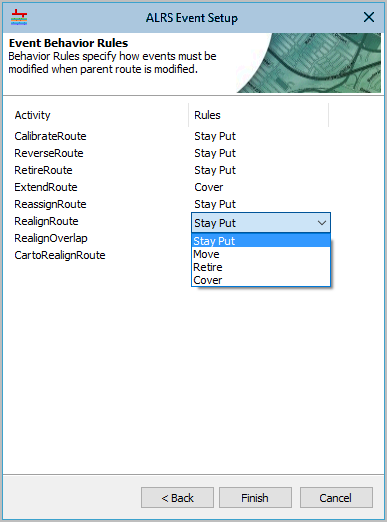
- Click Next.
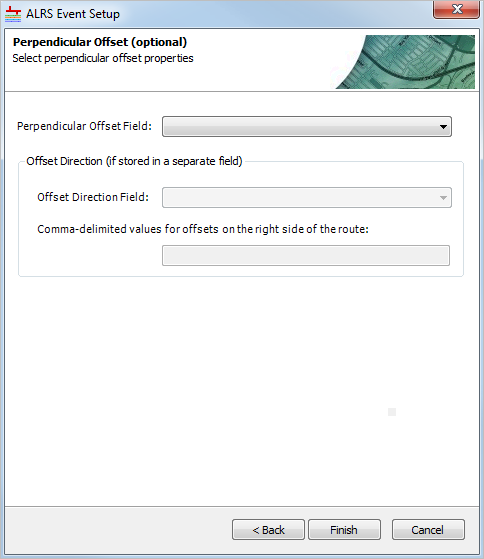
- If the event has perpendicular offsets, click the drop-down arrow in the Perpendicular Offset Field to choose the field that stores the offset information.
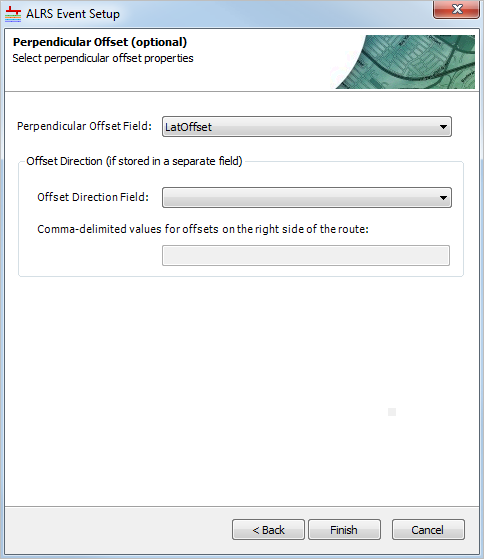
- If the Perpendicular Offset Field contains positive and negative values to designate the offset direction, click Finish.
- If another field in the table designates the offset direction, click the Offset Direction Field drop-down arrow and choose the field that stores this offset direction. Type the values (comma delimited) designating the offsets on the right side of the route in the Comma-delimited values for the offsets on the right side of the route text box.
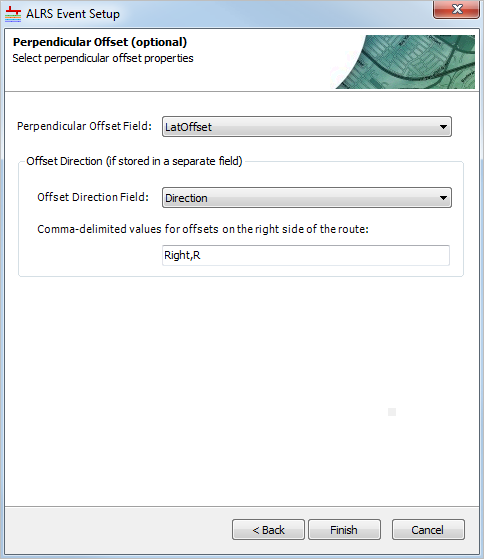
Once offset direction and values are configured, click Finish.