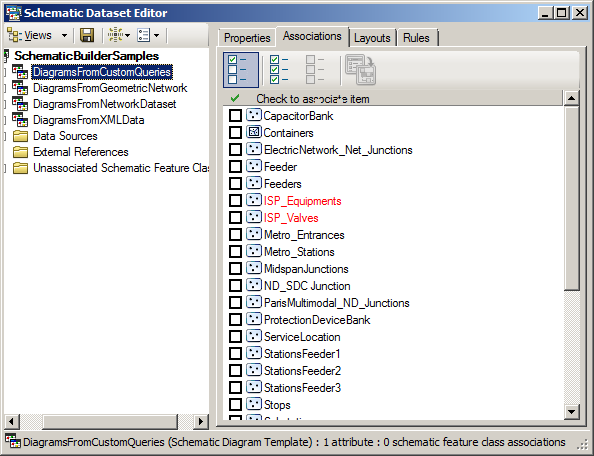
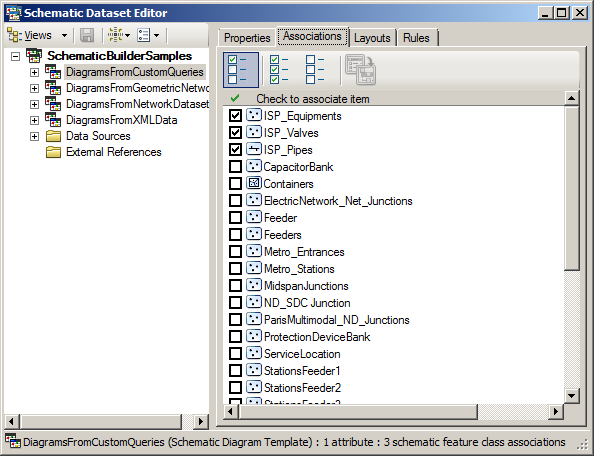
Schematic diagrams contain schematic features that are implemented by schematic feature classes. After defining a schematic diagram template, you need to indicate which schematic feature classes that schematic diagram template is supposed to manage—that is, you must associate the expected schematic feature classes with your schematic diagram template. The Associations tab related to a schematic diagram template contains the list of all the schematic feature classes specified in your schematic dataset. Those checked in the list are those already associated with the schematic diagram template.
The steps detailed below explain how to associate schematic feature classes with a given schematic diagram template:
- Edit your schematic dataset within Schematic Dataset Editor.
- If the schematic dataset resources are not arranged in a tree view in the Schematic Items window, click Views in the Schematic Dataset Editor toolbar and click Project Tree.
- Click the desired schematic diagram template on the Schematic Items window in Schematic Dataset Editor.
- Click the Associations tab.
All the schematic feature classes specified in the schematic dataset are listed in this tab:

- Check the check boxes related to the schematic feature classes you want to be associated with the schematic diagram template.

- Click
 Save on the Schematic Dataset Editor toolbar.
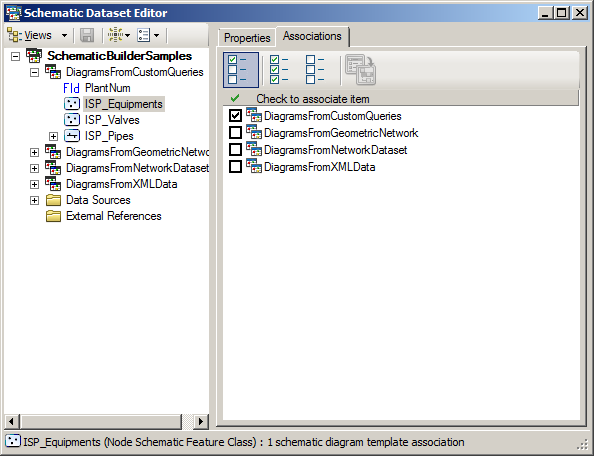
The Associations tab related to a schematic feature class entry works in a way similar to the schematic diagram template Associations tab explained above. This tab lists all the schematic diagram templates specified in the schematic dataset. The schematic diagram template items currently checked in that tab are those with which the schematic feature class selected in the Dataset Editor tree is already associated. Checking schematic feature class items in the Associations tab related to a schematic diagram template automatically causes schematic diagram template items to be checked on the schematic feature classes' Associations tab; the converse is also true. 