Production Mapping ライセンスで利用できます。
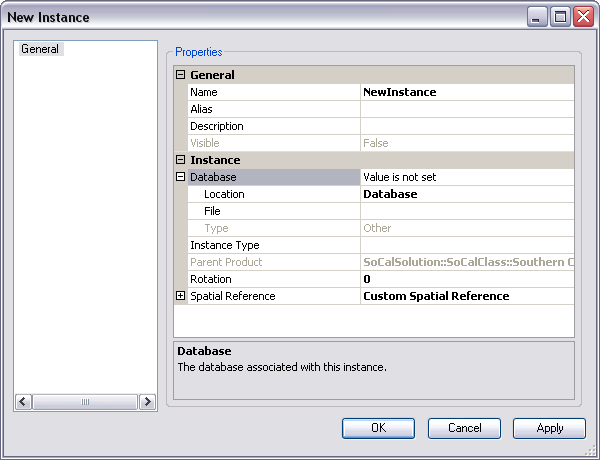
There are several properties associated with an instance. They are divided into two sections: General and Instance. The General section contains properties such as the name, alias, description, and current status of the instance. The Instance section contains properties such as the instance type and rotation angle for the data frame.
When you add an instance, only the General properties are required. You can optionally include an instance type and rotation angle, and you can associate a database with the instance.
- Start ArcMap.
- If necessary, open the Product Library window by clicking Customize > Production > Product Library on the main menu.
A tree view of the product library appears.

- Expand Product Library and Products.
- Navigate to and right-click the product for which you want to add an instance and click New Instance.
The New Instance dialog box appears.

- Click the cell next to Name.
- Double-click the existing text and type a name for the instance in the text box.
- Click the cell next to Alias.
- Type the name you want displayed in the tree view for the instance.
- Click the cell next to Description.
- Type a description of the instance in the text box.
The value for the Visible parameter is dependent on its value at the product level.
- If necessary, click the cell next to Instance Type.
- Click the drop-down arrow and choose the instance type that is appropriate for the instance.
- If necessary, click the cell next to Rotation.
- Double-click the existing value and type a new value for the rotation angle.
- Click OK to close the dialog box.
The instance appears in the Product Library tree view.