Creating an ALRS, the first LRS Network, and loading the network is completed in connected steps within Esri Roads and Highways. The advanced linear referencing system (ALRS) contains a centerline feature class, route table, centerline sequence table, and a calibration point feature class. These feature classes and tables are used to generate route layers called LRS Networks.
The steps for creating an ALRS, an LRS Network, loading of routes, and creating/updating calibration points are connected together so that upon completion of a step you are directed to the next step. The process is listed below. For more detailed information about each step, click the link in each step.
- Start ArcMap.
- In the Catalog window,
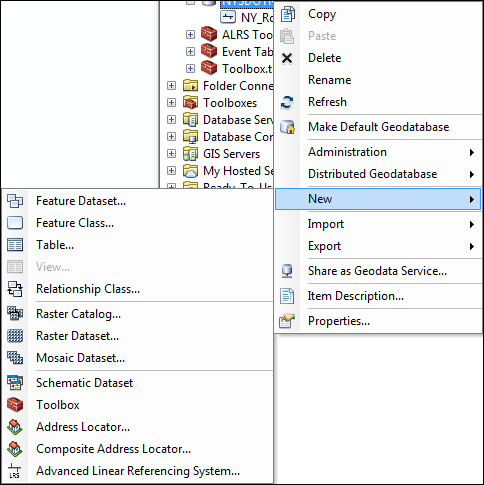
right-click the target geodatabase and click New > Advanced Linear Referencing System.

- Complete the steps in Creating a new ALRS and click Yes on the Do you wish to create a new network? dialog box to create your initial LRS Network. If any of your LRS Networks will have a concatenated route ID, click No and complete the steps in Using concatenated route identifiers.

- Complete the steps in Creating an LRS network and click Yes on the Do you wish to load routes? dialog box to load routes.

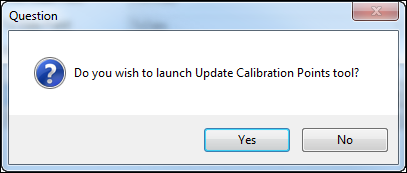
- Complete the steps in Loading routes and click Yes on the Do you wish to launch Update Calibration Points tool? dialog box to create and update calibration points.

- Complete the steps in Creating and updating calibration points and return to ArcMap.
- If you want to have more than one LRS Network in your ALRS, complete the steps in Creating additional LRS Networks.
- Complete the steps in Removing duplicate centerline geometry.
Once the removal of duplicate centerlines is complete, you will have an ALRS and fully calibrated LRS Network.