You edit an item's metadata in the Description tab. Some ArcGIS metadata elements associated with the brief Item Description support formatting their text. Formatting is supported to make the information provided in a longer description easy to read and understand when it is published to ArcGIS Online. The elements that support formatting are indicated by the presence of buttons that can be used to format the text. Use these buttons to make your text bold, add links to web pages, provide information in a bulleted list, and so on.
While text formatting may improve communication with other ArcGIS users, it isn't supported by any metadata standard. If formatting has been added to an element's metadata content, it will be removed when the item's metadata is exported to an XML file that follows a standard metadata format.
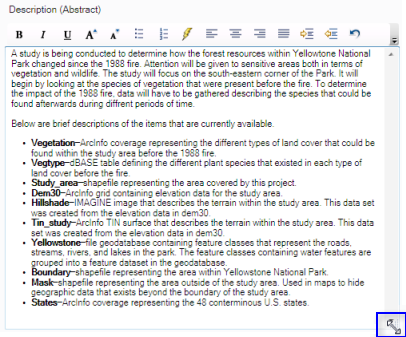
When you provide a longer description, you may want more room to type. You can make any multiline text box bigger by clicking the shaded triangle on the bottom corner of the text box and drag it down until the text box is as big as you want it to be. This gives you more room to type while still being able to see the rest of the content you've already provided. It can help you reread and edit your content.
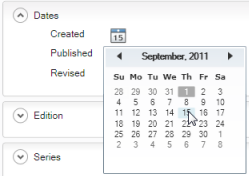
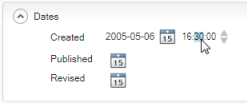
To describe a relevant date or time period for an item, you'll see a calendar icon if a date isn't already stored in a metadata element. Click it to select an appropriate date using the calendar control. It will open with today's date shaded gray. A year, month, and day must be specified.
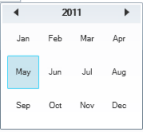
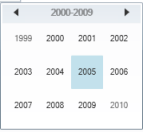
In the calendar, you can scroll through the months using the arrows or click the month and year at the top to choose from a list. Click the year at the top of the calendar again to choose from a list of years.
The selected date appears on the page. If the time the event occurred is significant, you can change the default time, 00:00:00. Click the up and down arrows to set the hour, or click the hour and type the appropriate number using the 24-hour time notation. To set the minutes or seconds, click that portion of the time and type the appropriate number.
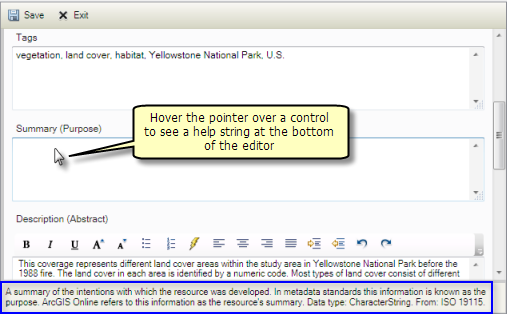
If you're ever unsure of what information to provide in a metadata element, hover the pointer over its input control. A help string appears at the bottom of the editor explaining what information is expected.
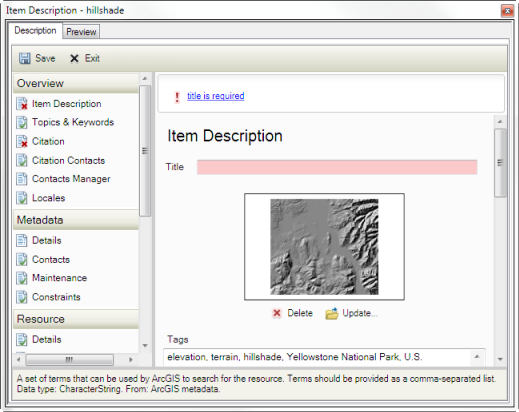
All metadata styles provided with the current version of ArcGIS for Desktop, other than the Item Description style, are designed to support a specific metadata standard or profile. These metadata styles include rules about the elements that are required to create metadata that complies with those standards. If a metadata element has a red background, this indicates there is a problem with its value. A value may be mandatory in this metadata element with the current metadata style, but one hasn't been provided. Or, the wrong type of value may have been provided for the element. For example, if an element is supposed to contain an integer but instead a real number has been provided, the element's input control will have a red background.
Learn about creating standard-compliant metadata
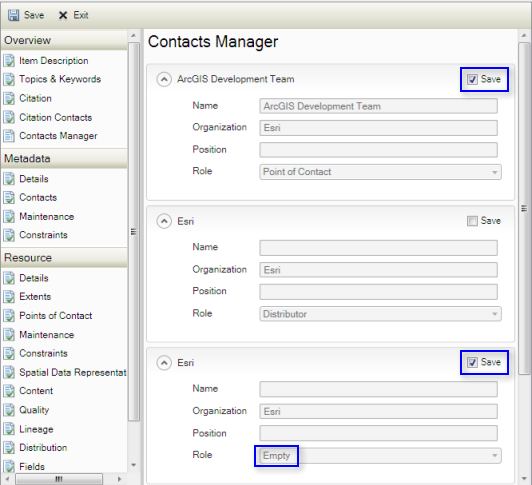
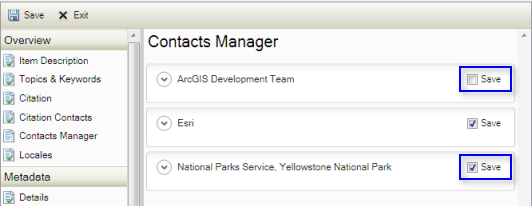
These metadata styles also include a Contacts Manager page that lets you save frequently used contact information. The first time you use this page, it lists all contacts that have already been provided in the item's metadata. Check Save for any contacts you want to reuse later. If the same contact can have many roles, such as the item's publisher, distributor, and point of contact, you may want to save the contact with no role specified. Contact information can't be edited on this page; it can only be used to manage saved contacts.
On pages where you provide contact information, you can either load contact information that was previously saved, or provide a new contact. To load saved contact information, click the appropriate contact in the drop-down list, then click Load; a copy of the saved contact information is added to the item's metadata. If you saved a contact without a role, be sure to set the contact's role appropriately for this location in the item's metadata.

If you later type in new contact information or you're working with another item's metadata that has contacts you want to save, revisit the Contacts Manager page. The saved contacts are listed, followed by any contacts in the item's metadata that don't match the saved contacts. Even if all names and contact information are the same, two contacts won't match if they have a different role. Save will be checked for all contacts that were previously saved. Check Save for any new contacts you want to keep. Uncheck Save to remove a previously saved contact.
It may take some time to fully complete an item's metadata. You can save your changes and stop editing at any time, then come back later and finish your work. You can stop editing even if the pages indicate you're missing information that is required for your metadata style or if some information is considered invalid for a metadata element.
For items such as maps, globes, and scenes, some of the information you can edit on the Item Description page in the Description tab is also available in the item's Properties dialog box. If you edit this information in the Description tab you'll see those changes the next time you open the item's Properties dialog box. If you edit this information in the Properties dialog box when the document is open, those changes are saved in the item's metadata when you save the map, globe, or scene. If you edit this information when you access the Properties dialog box from the Catalog window, those changes are saved in the item's metadata when you click OK.
- In the Catalog window, click the item you want to describe.
- View the item's metadata.
- Click the Edit button
 in the Description tab.
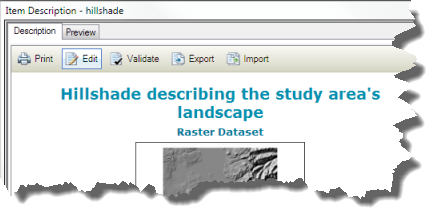
If the Edit button is not visible, you do not have permission to edit metadata for this item, and you won't be able to complete this task. The shared network location or the item's files may be read-only, or you may not have permission to edit the data for this item in the geodatabase.
The pages used to edit metadata appear in the Description tab.
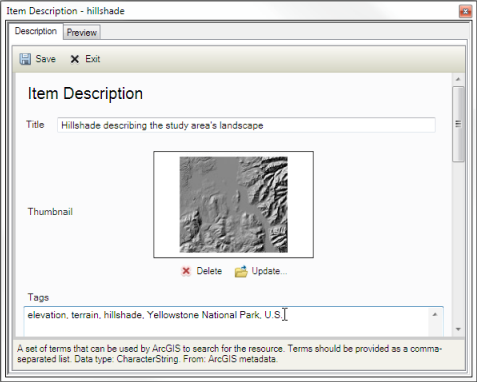
- Describe the item using the available pages.
Metadata elements with a red background are mandatory for your metadata style or contain the wrong type of information such as a string instead of a number.
- Stop editing.
- Click the Save button
 to save your changes.
 - Click the Exit button
 to stop editing without saving your changes.
The current metadata is displayed in the Description tab under the ArcGIS Metadata heading.
- Click the Save button
Related topics
- Choosing a metadata style
- A quick tour of creating and editing metadata
- Creating and managing FGDC metadata
- Differences between ArcGIS metadata and FGDC metadata
- Creating standard-compliant metadata
- Upgrading existing FGDC metadata from the Description tab
- Creating a metadata template
- Edit metadata for many ArcGIS items
- About creating thumbnails