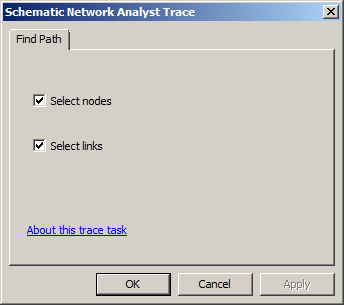
When the Find Path schematic analyst trace task is chosen in the Trace Task drop-down list, clicking the Trace Task Properties button  opens its associated properties tab as follows:
- Check Select nodes if you want the schematic nodes along the detected path to be selected.
- Check Select links if you want the schematic links along the detected path to be selected.
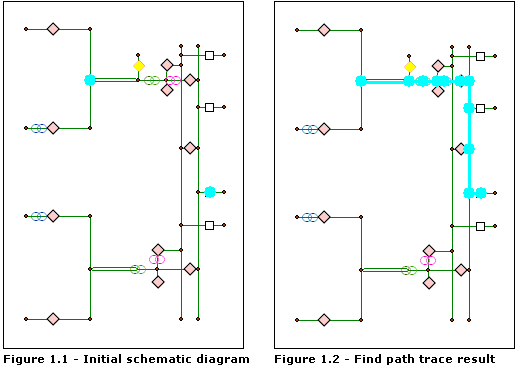
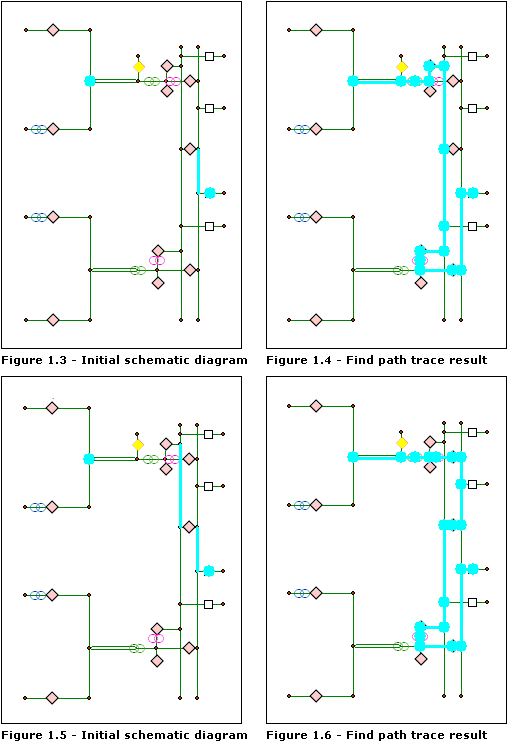
The figures below show the results of the Find Path schematic analyst trace task starting and ending with selected schematic nodes with or without barriers positioned on some schematic links:
- Figure 1.1 represents the initial schematic diagram. The two selected schematic nodes are the only schematic features selected in the schematic diagram. These nodes are the required end and start points for the trace.
- Figure 1.2 shows the resulting Find Path schematic analyst trace task starting and ending with these schematic nodes. The schematic links along the resulting path are selected in the diagram.

- Figure 1.3 shows the same two selected schematic nodes that are going to be considered as the start and end point for the path. It also shows a selected schematic link. This link is going to be interpreted as a barrier during the analysis.
- Figure 1.4 shows the resulting Find Path schematic analyst trace task starting and ending with the two schematic nodes. The barrier schematic link is no longer selected.
- Figure 1.5 represents another initial state of the diagram before a Find Path schematic analyst trace task is performed. In this case, two schematic links are selected before the trace analysis is performed. Figure 1.6 shows the resulting Find Path schematic analyst trace task returned in this case.
